

When you’re dealing with stubborn stains on your brick, you’ll often hear people mention brick cleaning acid. This is usually a diluted form of muriatic acid, and it's the heavy-hitter we bring out when nothing else will work on things like mortar haze, efflorescence, and deep-set mineral deposits.
It's powerful stuff, though. It works by creating a chemical reaction that literally dissolves the mineral-based stain right off the brick’s surface.
Deciding if Brick Cleaning Acid Is Right for Your Home
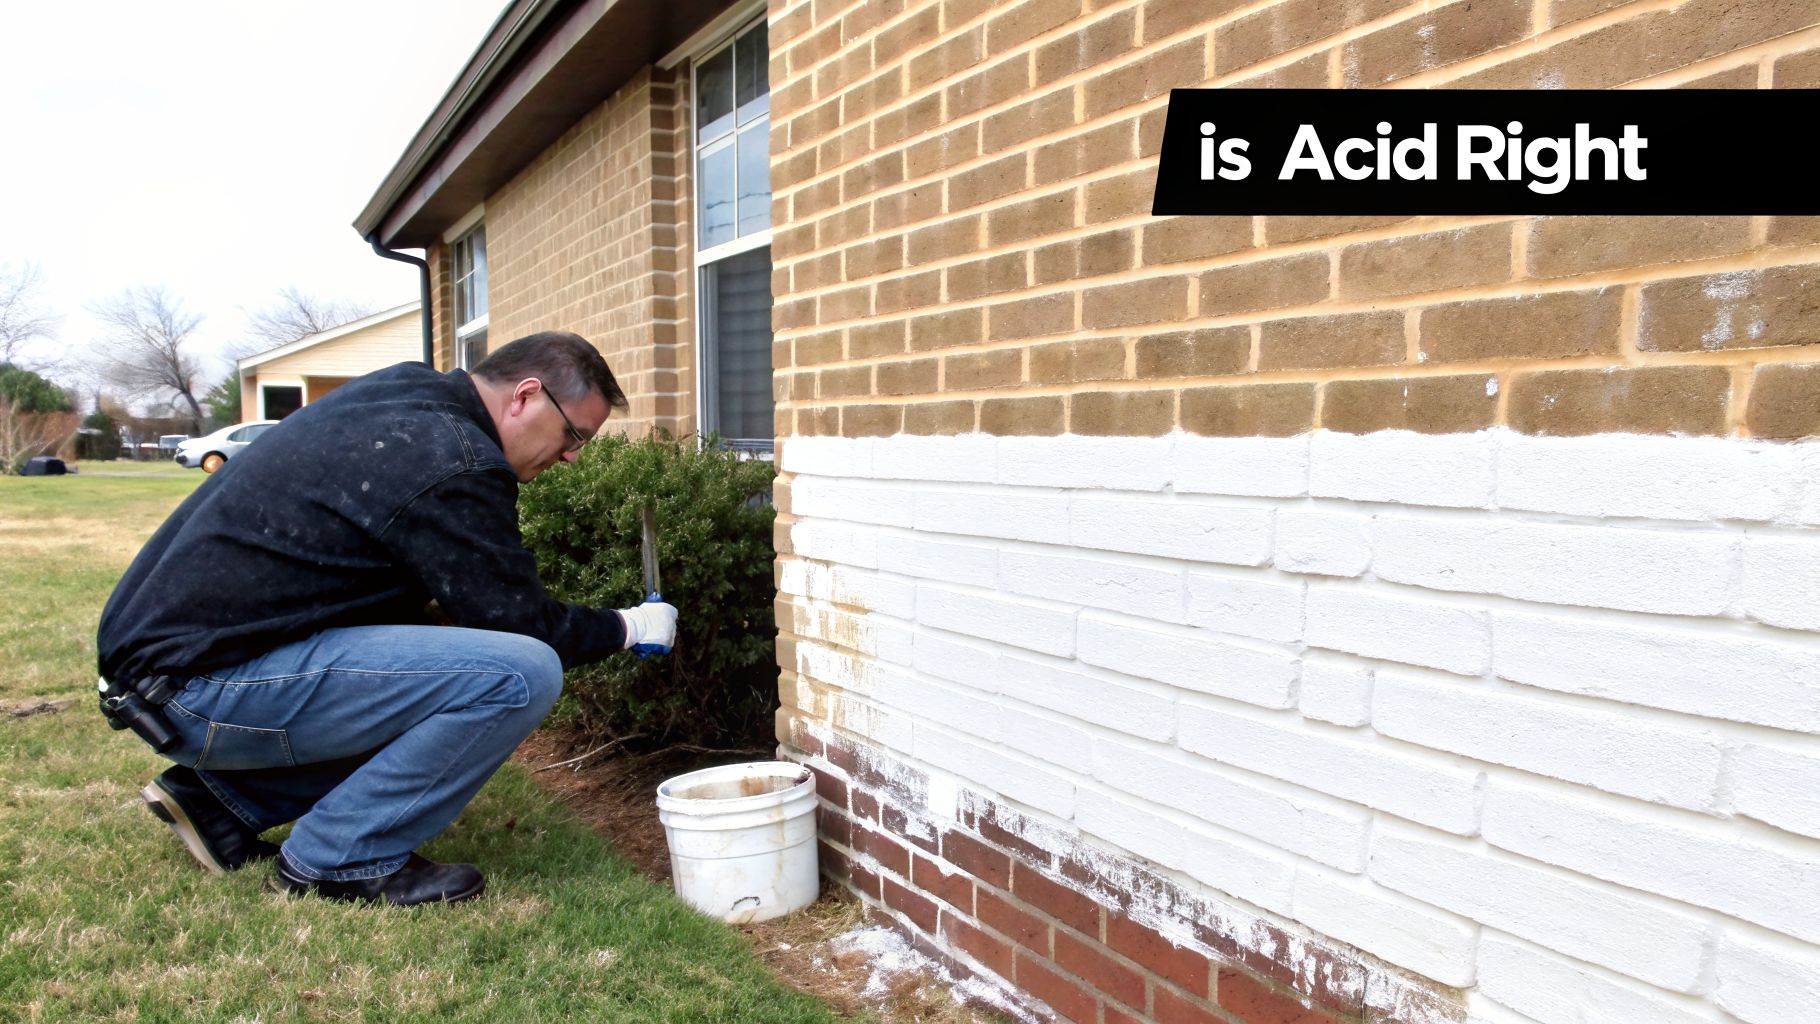
Before you even think about buying a bottle of acid, you need to be absolutely sure it's the right tool for the job. This is a critical first step. Using acid where it’s not needed can cause permanent damage, like etching the face of your brick or weakening the mortar joints. But for some specific, stubborn issues, it’s the only thing that will get the job done right.
Think of acid as a specialist, not a general cleaner for everyday dirt and grime.
When Is Acid the Correct Choice?
Acid is a targeted solution for very specific problems. We only use it when we’re dealing with mineral-based stains that have chemically bonded to the brick.
Here are the most common scenarios where we know an acid wash is the right call:
- Mortar Haze: After new brick is laid or a wall is repointed, you'll often see a chalky white film left behind. That's mortar haze. Acid is fantastic for this because it dissolves those cement residues and leaves a crisp, clean finish.
- Severe Efflorescence: This is probably the number one reason we get calls for acid washing in the Phoenix area. Efflorescence is that powdery, white salt deposit that seems to grow out of the brick. You can scrub off light cases, but for heavy, recurring deposits, an acid treatment is necessary to clean out the brick's pores.
- Heavy Mineral Stains: Phoenix's hard water is notorious for leaving behind rust-colored or white scale stains from sprinklers. An acid wash can break down these tough mineral deposits where a pressure washer alone would fail.
Here in water-stressed Arizona, efflorescence can pop up on 60% of new brickwork within just a few months. But a proper acid treatment can cut down its recurrence by up to 90%. For real estate agents and homeowners looking to boost curb appeal, that’s a huge difference. If you're curious about the science, you can discover more about the chemistry of brick acid on chemicals.co.uk.
When Should You Avoid Acid?
Knowing when not to use acid is just as important. Grabbing it for the wrong reason is a recipe for disaster and can lead to irreversible damage.
Pro Tip: Never use muriatic acid on general dirt, mold, algae, or stains from leaves and berries. Those are organic issues, and acid is for mineral issues. For organic stains, you need alkaline cleaners or simple detergents.
Steer clear of acid in these situations:
- Just Plain Dirty: If your bricks are simply covered in dust and pollution, start with a good scrub or a power wash with a standard detergent.
- Algae or Moss: See green or black patches? That's biological growth. Use an algaecide or an alkaline-based cleaner, not acid.
- Painted or Sealed Brick: Acid will quickly strip off most paints and sealants, leaving you with a much bigger, blotchy mess to fix.
- Old, Fragile Brick: Historic or soft-pressed bricks can be incredibly fragile. A strong acid can easily etch the surface or cause it to crumble. Always test on a hidden spot first, or better yet, call a professional.
To help you choose, here's a quick comparison of your options.
Acid vs Alternative Brick Cleaning Methods
This quick comparison can help you decide if brick cleaning acid is necessary for your specific situation.
| Cleaning Issue | Best Method | When to Use It | Sparkle Tech's Advice |
|---|---|---|---|
| Efflorescence (white, powdery) | Acid Wash | For heavy, recurring deposits that scrubbing won't remove. | This is the #1 reason to use acid in Phoenix. |
| Mortar Haze (chalky film) | Acid Wash | On new brick or after repointing to remove cement residue. | Works like a charm, but follow safety steps carefully. |
| Hard Water/Rust Stains | Acid Wash | For stubborn mineral stains from sprinklers or runoff. | Test a small area first; some metals react differently. |
| General Dirt & Grime | Pressure Washing | For surface-level dust, dirt, and pollution. | The best starting point for any brick cleaning project. |
| Mold, Mildew, Algae (green/black) | Alkaline Cleaner | For any organic growth on the brick surface. | Acid is useless here. Use a proper algaecide. |
| Grease or Oil Stains | Degreaser | For stains from cars, grills, or other oily sources. | Treat the spot with a poultice or specialized degreaser. |
By correctly diagnosing the type of stain you're dealing with, you can choose the right method from the start. This not only protects your home's exterior but also saves you a lot of time and potential heartache. Keeping on top of these things is a core part of protecting your investment, as we detail in our exterior home maintenance checklist.
Your Essential Safety and Preparation Checklist
Let me be blunt: working with brick cleaning acids, especially muriatic acid, is serious business. This is, without a doubt, the most critical part of the entire job. A single misstep here can mean a trip to the emergency room or permanently scarring your home. There are no shortcuts.
If you read through these prep steps and think you might skip one, please stop right now and call a professional. The risk of a rushed, unsafe DIY job is just too high.
Gearing Up With The Right PPE
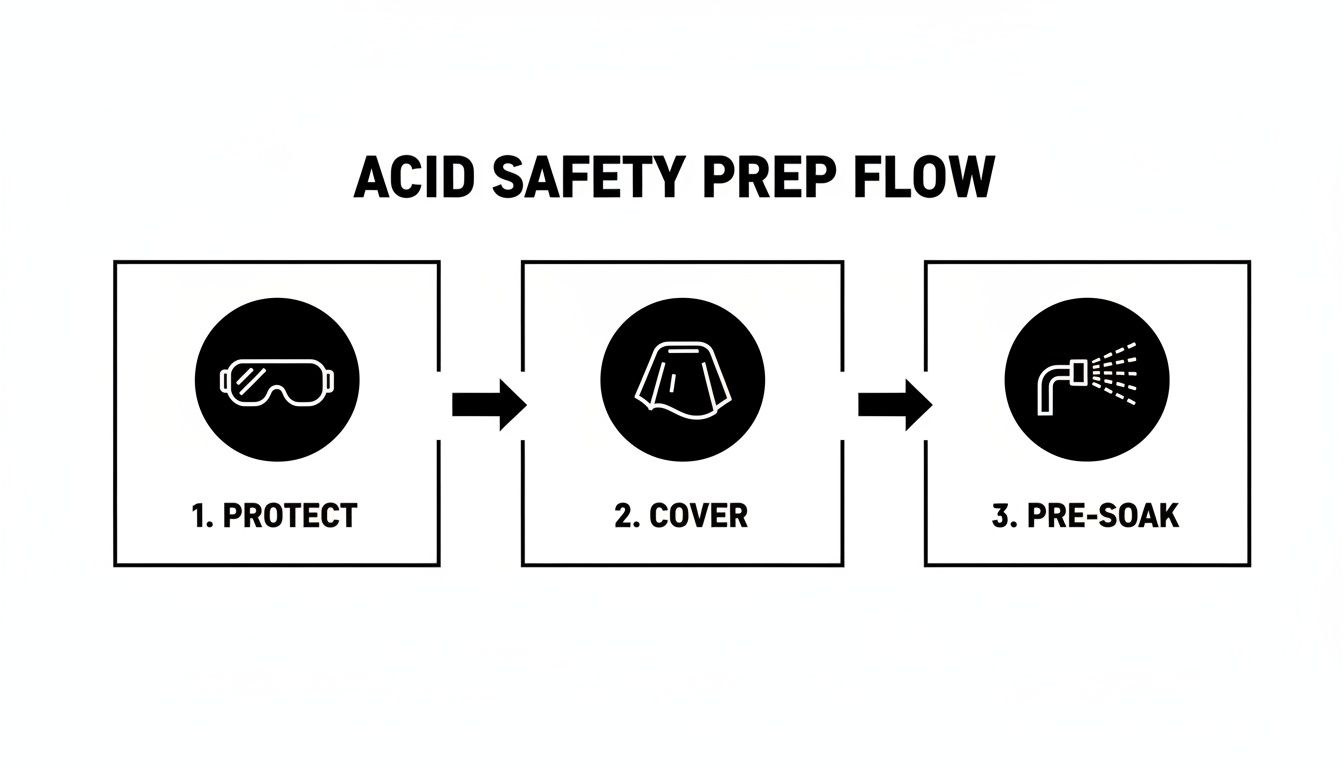
Personal Protective Equipment (PPE) isn't just a suggestion; it's an absolute requirement. The fumes from muriatic acid alone can wreak havoc on your respiratory system and even corrode metal finishes nearby. This is about full-body protection, period.
Here’s what you need before you even unscrew the cap on a bottle of acid:
- A Respirator with Acid Gas Cartridges: Don't even think about using a simple dust mask. You need a dual-cartridge respirator specifically rated for acid gas (look for the magenta and yellow stripe). This is what stands between corrosive fumes and your lungs.
- Full-Face Shield Over Safety Goggles: You need double protection for your eyes. A chemical splash is instantaneous and unforgiving. The face shield gives you that extra layer of defense for the rest of your face.
- Acid-Resistant Gauntlet Gloves: Your standard latex or nitrile gloves will dissolve in seconds. Get a pair of heavy-duty neoprene or butyl rubber gloves that go up your forearms.
- Long-Sleeved Shirt and Pants: Any exposed skin is a target for chemical burns. Cover up completely.
- Waterproof, Chemical-Resistant Boots: Spills and drips happen. Make sure your feet are protected.
There's a reason pros and regulators are so strict about this. According to OSHA data from 2015-2025, strict PPE mandates have led to a 40% drop in acid-related workplace incidents. These mishaps have fallen from 12% to just 7% of all cleaning incidents. For professionals, this level of prep is standard operating procedure, a key factor in the market for masonry cleaners.
Protecting Your Property and Landscaping
Acid is indiscriminate. It can't tell the difference between a mortar smear on a brick and your expensive window frames or the rose bushes you've spent years cultivating. Your job is to create a fortress around everything you don't want the acid to touch.
Walk the area and identify every vulnerable surface. We're talking about:
- Windows and glass doors
- Metal frames, downspouts, and gutters
- Painted surfaces and wood trim
- Light fixtures and electrical outlets
- Your lawn, plants, and flower beds
Now it's time to mask everything off. Use painter's tape and heavy-duty plastic sheeting—I recommend at least 4 mil thick—to completely seal off windows, doors, and any other fixtures. For your landscaping, especially the delicate desert plants we have here in Phoenix, cover them entirely with plastic sheeting.
Crucial Step: I can't stress this enough. I've seen homeowners try to just "be careful" and end up with permanently etched glass or rusted-out gutters. The cost of a roll of plastic and tape is nothing compared to the cost of replacing a window.
The Importance of Pre-Soaking Surfaces
This is a step that amateurs almost always miss, and it's one of the most important. Before a single drop of acid solution hits that wall, you have to completely saturate the brick and the ground beneath it with water from your garden hose.
Keep spraying the wall until the water just runs off; it can't absorb any more. This simple step does two incredibly important things:
- It Prevents "Acid Burn." By filling the pores of the brick and mortar with water, you keep the acid working on the surface where the stains are. This prevents it from soaking deep into the masonry, which can cause structural damage and leave behind ugly, permanent yellow stains.
- It Dilutes Spills. A pre-soaked ground and covered plants will immediately dilute any acid that drips down, drastically minimizing the harm to your soil and root systems. Keep the hose on and ready to go so you can rinse any accidental splashes right away.
All this prep work also gives you a moment to think about whether you really need such a powerful cleaner. If the staining is light, you might be surprised by what less aggressive, more eco-friendly options can do. For anyone interested in a gentler approach, we have a guide on some of the best eco-friendly cleaning products that can often handle the job without all the risk.
Applying Brick Acid Like a Pro
Alright, you've got your safety gear sorted and the surrounding area is prepped. Now for the main event. This is where patience really pays off. If you rush the application, you're asking for streaks, splotches, and uneven results that can be a real headache to fix later. Think of this as a methodical restoration, not a race to the finish line.
The first step is getting your cleaning solution just right. For most residential brick—the kind we see all over Phoenix—a good starting point is a 1-part muriatic acid to 10-parts water dilution. This mix is usually strong enough to knock out common problems like mortar haze or efflorescence without being overly harsh on the brick itself.
The Unbreakable Rule of Mixing Acid
There's one rule in this game that is absolutely non-negotiable: Always Add Acid to Water (AAA).
Grab a clean, heavy-duty plastic bucket (never, ever use metal) and fill it with your water first. Then, and only then, do you slowly and carefully pour the measured amount of acid into the water. Reversing this order is a recipe for disaster. Pouring water into concentrated acid can trigger a violent chemical reaction, causing it to erupt out of the bucket and onto you.
I always tell people to think of it like this: "Do as you oughta, add acid to water." It's a simple rhyme that could save you from severe chemical burns. This isn't just a guideline; it's a critical safety command.
Application: Start Low, Go Slow
The best tool for the job is a simple, acid-resistant garden sprayer. A sprayer gives you a fine, even coat, which is exactly what you need to avoid a blotchy finish. Just make sure it’s a brand-new sprayer, or at least one that has never seen pesticides or weed killers, as you don't want any surprise chemical cocktails.
Now for a pro tip that seems backward but is absolutely essential: start at the bottom of the wall and work your way up.
It sounds strange, I know. But if you start from the top, the acid will inevitably run down the dry brick below, leaving clean streaks that are nearly impossible to get rid of. By starting at the bottom and moving up, any runoff lands on a surface that's already wet with the solution, ensuring everything blends together for a uniform clean.
Work in small, manageable sections, roughly 4×4 feet at a time. This keeps the process controlled and prevents the solution from drying out before you can finish the job.
Let it Dwell, But Not For Too Long
Once an area is coated, you need to let the acid "dwell"—that's the time it takes to dissolve the mineral stains. You’ll see it start to fizz and foam, which is a good sign it's working. For most stains, 5 to 10 minutes is all it needs.
The one thing you can't let happen is for the acid to dry on the brick. On a hot Phoenix day, this can happen fast. If you see it starting to dry, just give it a light mist with more of your diluted solution to keep the surface active.
While it’s dwelling, you can give it some help by gently scrubbing the area with a stiff, non-metallic brush. The idea here is to agitate the surface to help lift stubborn grime, not to scour the brick itself. A light touch is all you need.
The Final Steps: Neutralize and Rinse
After 5-10 minutes, you can't just hose it down. You have to neutralize the acid first. Skipping this step is what causes those ugly yellow or brownish "acid burn" stains you sometimes see on poorly cleaned brick.
You can buy a commercial neutralizing product or make your own by mixing about one cup of baking soda into a gallon of water. Use a second, clearly-labeled garden sprayer to apply this alkaline solution over the entire work area. The fizzing will stop, telling you the acid has been neutralized.
Now, it’s time to rinse. And I mean really rinse. Using a standard garden hose or a pressure washer on a low setting (stay under 1000 PSI to avoid damaging the mortar), flush the wall from the top down. Be thorough. When you think you’ve rinsed enough, rinse it again. This final step is crucial for washing away every last trace of acid, dirt, and chemical residue, leaving you with a clean, beautiful brick finish.
How to Troubleshoot Common Cleaning Issues
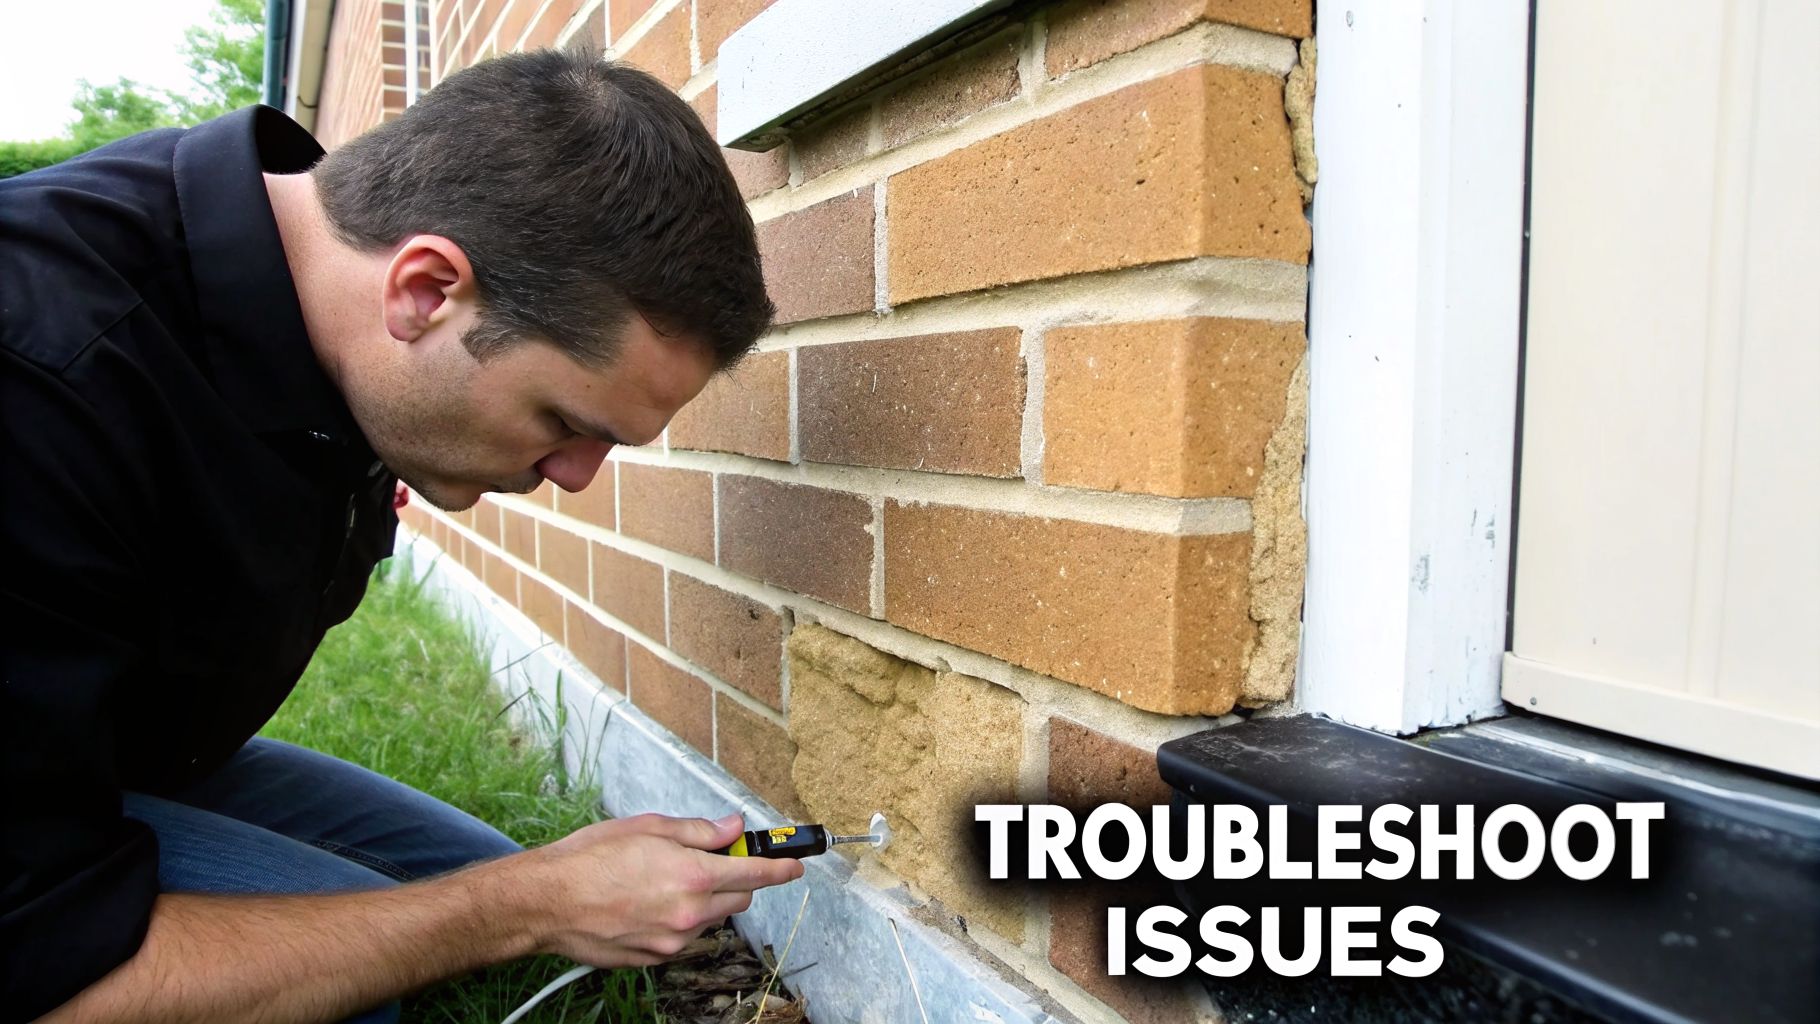
So you’ve followed all the steps, finished the final rinse, and you step back to admire your handiwork… only to find a new problem you didn’t have before. Don't worry. This happens, and most acid-washing mishaps are fixable if you know what to look for.
The real key is correctly identifying the issue. Jumping to the wrong conclusion and applying another chemical can easily make the situation much worse. Let's walk through the most common problems we see out in the field.
Yellow or Brown Stains Appear After Cleaning
It’s probably the most common—and frustrating—outcome. You successfully got rid of the hazy white stains, but now you have ugly yellow or brown streaks in their place. This is what we call "acid burn."
Nine times out of ten, this happens for one of two reasons. Either the acid wasn't fully neutralized before the final rinse, or the acid solution was allowed to dry on the wall. In both cases, the acid reacts with the iron that naturally exists in most brick, creating a new rust stain.
- The Fix: You'll need a different kind of cleaner, one containing oxalic acid, which is made for removing metallic stains. As always, test it on a small, out-of-the-way spot first.
- Prevention: This is a perfect example of why working in small, manageable sections is so critical. You have to keep the surface wet at all times and be absolutely thorough with your neutralizing rinse.
Mortar Joints Look Soft or Etched
You run your hand over the mortar joints after cleaning, and they feel gritty and sandy. Or worse, you can visibly see where the acid has eaten away at the surface. This is a telltale sign that your acid solution was way too strong or left on the wall for too long.
When this happens, the acid didn't just clean the brick; it started dissolving the cement paste that binds the mortar.
This isn't just a cosmetic issue. Damaged mortar joints compromise the wall's integrity and can lead to serious water intrusion problems down the line. If the etching is very minor, you might be okay. But if the mortar is visibly soft and crumbly, you have a bigger problem on your hands.
If the damage is severe and widespread, stop what you are doing immediately. This has moved beyond a DIY fix. You’ll need a professional mason to come out, assess the damage, and likely perform a "tuckpointing" job to replace the compromised mortar.
The White Powdery Efflorescence Comes Back
You did it. The brick looked fantastic for a few weeks, but now that familiar white powder is starting to reappear. It’s incredibly annoying, but it’s a sign that you only treated the symptom, not the cause.
Efflorescence is just mineral salt being transported to the surface by moisture. The acid wash removed the existing salts, but it didn't stop the water that's carrying new salts to the surface.
Products with brick cleaning acid, often containing around 36% HCl, are exceptional at this initial removal. In fact, 2023 lab tests show they can dissolve 98% of calcium carbonate—the main component of efflorescence. This is vital, as preventing this buildup can stop corrosion that shortens masonry life by 15-25 years.
For property managers here in the Valley, from Phoenix to Paradise Valley, this is a significant value-add. Clean exteriors can boost a property's sale price by 5-8%, according to 2024 analytics from Zillow. You can discover more about acid-proof lining and its market impact on mordorintelligence.com to see the broader trends.
To stop it from coming back, you need to play detective and find the water source:
- Are your gutters or downspouts leaking and saturating that section of the wall?
- Is a sprinkler head spraying directly onto the brick day after day?
- Look for cracked mortar joints or failed sealant around windows where water could be getting in.
Once you find and fix the moisture source, you can usually remove the new efflorescence with just a stiff brush. Then, it's wise to apply a breathable, silane-based water repellent to help keep the brick dry for good.
Even with the best advice, things can go sideways. Here's a quick cheat sheet for diagnosing and solving common issues when you're in the middle of a project.
Brick Cleaning Troubleshooting Guide
| Problem | Likely Cause | DIY Solution | When to Call a Professional |
|---|---|---|---|
| New Yellow/Brown Stains | Acid wasn't fully neutralized or dried on the surface, causing a reaction with iron in the brick. | Apply an oxalic acid-based cleaner to the new stains, testing a small spot first. Always work in small sections. | If stains are widespread and don't respond to the new cleaner, an expert may be needed to identify a more complex issue. |
| White "Scum" or Haze | Acid solution was too strong and dissolved part of the brick or mortar, which then re-deposited on the surface. | Try cleaning a small area with a lower-pressure wash and a stiff nylon brush. Avoid re-applying acid. | If the haze is persistent across the entire project, a pro can use specialized, non-acidic cleaners to remove it. |
| Soft or Crumbly Mortar | Acid was too concentrated or left on for too long (excessive dwell time), damaging the cement. | Minor sandiness may be acceptable. Do not re-apply acid. Let the wall dry completely and monitor. | If mortar is soft, deeply etched, or crumbling, you need a mason for repointing/tuckpointing to ensure structural integrity. |
| Efflorescence Returns | The initial cleaning was successful, but the underlying moisture problem causing the salts was not fixed. | Find and fix the source of water (gutters, sprinklers, cracks). Clean new efflorescence with a stiff brush. | If you can't find the source of moisture intrusion, a building envelope specialist may be needed to diagnose the problem. |
Remember, the goal is to clean the brick, not damage it. If you run into an issue not on this list or a problem seems to be getting worse, it's always best to stop and call for professional advice.
When to Call in the Pros for a Brick Cleaning
Look, taking on a DIY project can be incredibly satisfying. But when you’re dealing with corrosive acids, there are times when the smartest and safest decision is to hand the job over to an expert. This isn't about admitting defeat—it's about protecting your home and avoiding a costly, irreversible mistake.
Sometimes, a project's scale or the type of brick you have just isn't suited for a weekend warrior. Let’s talk about the clear signs that it’s time to call in a professional brick cleaning service here in Phoenix.
Red Flags That Scream 'Pro-Only'
If any of these situations sound familiar, my advice is to step back. The risks involved can quickly outweigh any potential savings. In these cases, hiring a licensed and insured pro is your best bet.
Your Home is Two Stories or Taller: This is a non-negotiable for me. Juggling a pressure washer wand and a bucket of acid from 20 feet up a wobbly ladder? That’s a hospital visit waiting to happen. Professionals use proper scaffolding, lifts, and safety harnesses to manage heights safely. It’s just not worth the risk.
You're Working with Historic or Fragile Brick: Old brick can be surprisingly delicate. If your brick is soft, sandy, or already showing signs of chipping (spalling), the wrong acid mix or a little too much pressure can permanently scar or even crumble the face. An expert knows how to identify these sensitive materials and will opt for a much gentler approach, sometimes avoiding harsh acids altogether.
Your Test Patch Failed (or Made Things Worse): You did everything right and tested a hidden spot first—good on you. But what if the stain is still there? Or worse, you now have a new, ugly yellow stain? This means you’re dealing with a complex chemical reaction. A pro has an entire arsenal of different cleaning agents and the field experience to diagnose the actual problem and fix it correctly.
The Real Payoff of a Professional Service
Hiring a company like Sparkle Tech brings a lot more to the table than just saving you a Saturday. You're investing in expertise, safety, and the peace of mind that comes from a job done right the first time.
A professional service takes the full weight of the project off your shoulders. This includes not only the chemical handling and physical labor but also the liability. A reputable company carries comprehensive insurance to cover any potential damage to your property, a safeguard you don't have with a DIY job.
Here’s the value you get from an experienced team:
- Chemical Know-How: We know exactly which acid—and at what precise dilution—is needed for specific stains, from rust to efflorescence. We can troubleshoot on the spot and have the right neutralizers ready to go.
- Pro-Grade Equipment: The adjustable, high-PSI pressure washers and application tools we use are in a different league than rental equipment. This gear allows for a powerful, yet controlled, cleaning that delivers a perfectly uniform finish.
- Guaranteed Results: We stand by our work. If you aren't happy with the outcome or a new issue appears after we're done, we come back and make it right. Period.
- Safety and Full Insurance: This is a big one. Our crew is trained, licensed, and fully insured. To see why this is so critical for protecting yourself as a homeowner, it’s worth understanding what it means to be bonded vs. insured in our detailed guide.
When the stakes are high—whether because of your home's height, the brick's age, or a mystery stain—hiring a professional is the surest way to get a beautiful, damage-free result.
Frequently Asked Questions About Brick Acid
Even after walking through the whole process, a few key questions always seem to pop up. It's completely normal—you're about to use some pretty potent stuff on your home, so getting all the details straight is just smart. Let's tackle some of the most common questions I hear from homeowners right here in Phoenix.
Think of this as our final chat before you get started. Clearing up these points will help you work with confidence and avoid those "uh-oh" moments mid-project.
What Is the Difference Between Muriatic and Phosphoric Acid?
This is a great one, because your choice here really sets the stage for the entire job. The best way to think about it is choosing between a sledgehammer and a finishing hammer—both are useful, but for very different tasks.
Muriatic acid is the heavy hitter. It's a powerful form of hydrochloric acid that will absolutely demolish thick, stubborn mortar haze on new, dense brickwork. But that power is its biggest drawback. It's not forgiving and can easily etch, burn, or permanently damage softer, older, or historic brick if you're not extremely careful.
Phosphoric acid, on the other hand, is the finesse tool. I almost always recommend this one for general cleaning, like getting rid of that chalky white efflorescence. It's a much safer bet for older Phoenix-area homes where you want to preserve the brick's original texture and character. It might take a little more elbow grease, but the risk of accidentally scarring your brick is dramatically lower.
As a rule of thumb, I tell people: if you have brand-new, standard brick with heavy construction stains, muriatic acid can be a time-saver. For just about everything else, especially on an older house, starting with the gentler phosphoric acid is always the wiser move.
Can I Use Brick Cleaning Acid on Painted Brick or Pavers?
This is a critical question, and the answer is a firm "it depends" that requires you to know exactly what you're working with.
On painted brick, the answer is a hard no. Don't even think about it. Acid is made to dissolve minerals, and it will attack the paint with a vengeance. You'll end up with a peeling, blistering mess that looks a hundred times worse than the stain you were trying to remove.
When it comes to pavers, things get a bit more complicated.
- Clay Pavers: These are usually fine. They’re fired at high temperatures, making them dense and non-reactive, much like hard-fired brick.
- Concrete & Colored Pavers: This is where you can get into serious trouble. The acid can react with the cement and the pigments that give the pavers their color. This often leads to irreversible fading, blotching, and etching across the surface.
No matter what kind of paver you have, a spot test is absolutely non-negotiable. Mix your diluted acid, find an inconspicuous corner, and test it on a single paver. Let it dry completely before you even consider tackling the whole area.
How Do I Safely Dispose of Leftover Diluted Acid?
Proper disposal is just as crucial as the cleaning itself. Never, ever just pour leftover acid down a storm drain or onto your landscaping—it's incredibly harmful to the environment. The first and most important step is to neutralize the acid.
Grab a box of baking soda or some garden lime and slowly add it to your bucket of diluted acid. You'll see it start to fizz and bubble as the chemical reaction happens. Keep adding the base in small amounts until the fizzing stops entirely. That's your signal that the acid has been neutralized and is no longer corrosive.
Even after it's neutralized, you need to follow local guidelines. Dilute the solution again with a lot more water. From there, check with the City of Phoenix or your local municipality's waste management department. Some may allow the heavily diluted and neutralized solution to be poured down a sanitary sewer drain (like a utility sink), while others may have different protocols. Always check first.
If tackling acid washing on your own feels like too much of a risk, that's perfectly okay. For a perfect, damage-free finish without any of the guesswork, it's often best to leave it to the pros. Sparkle Tech Window Washing LLC is here to help. Our experienced team serves the entire Phoenix area, delivering professional results, guaranteed. Contact us today for a free, no-obligation estimate!