
Scottsdale Window Cleaning — Streak-Free, Every Home
Scottsdale's trusted family-owned window cleaning, solar panel washing, and screen service. From Old Town to DC Ranch, Silverleaf to Troon — insured, on time, and finished streak-free. Free estimates in minutes.
"They did a great job on my windows and screens. They were prompt and professional. I will definitely use them again.…"
— Timothy Reed, Scottsdale, AZ
"We've been using Sparkle Tech for several years and have always been pleased with the work they do. They come in, do their magic a…"
— Kathy Lawson, Scottsdale, AZ
Professional Cleaning, Trusted Across Scottsdale
From full-home window washing to solar panel restoration and custom screens — one trusted Scottsdale crew for your entire home exterior.
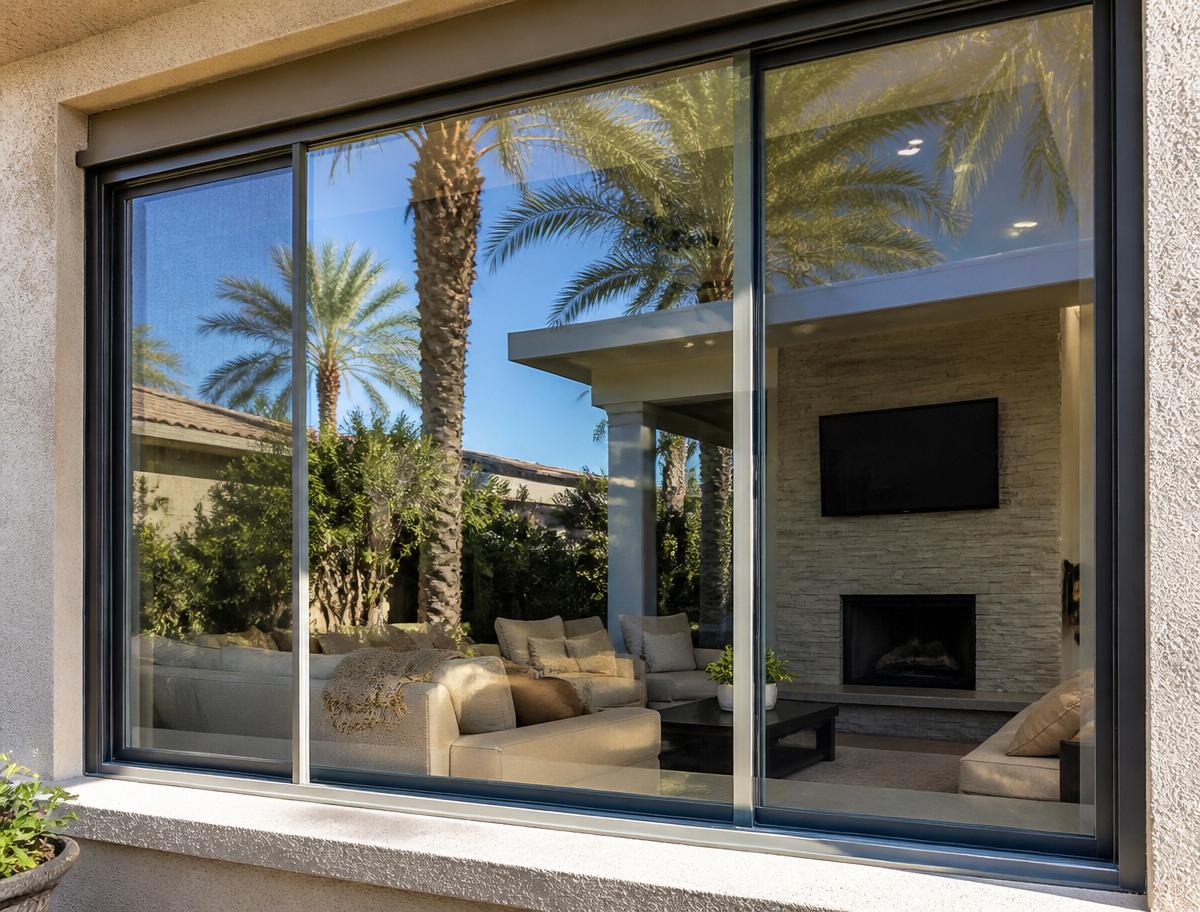
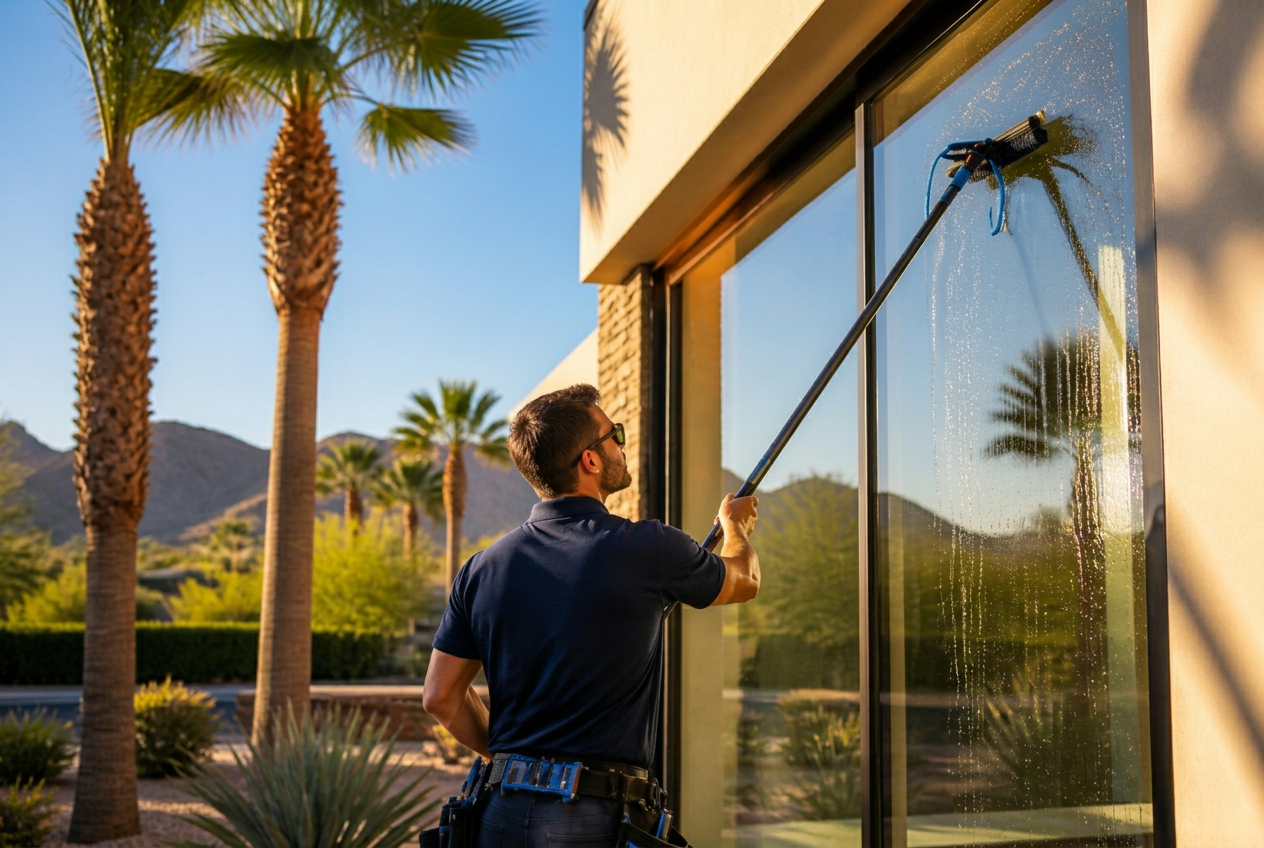
Window Cleaning
Interior and exterior residential window cleaning — streak-free, every time.
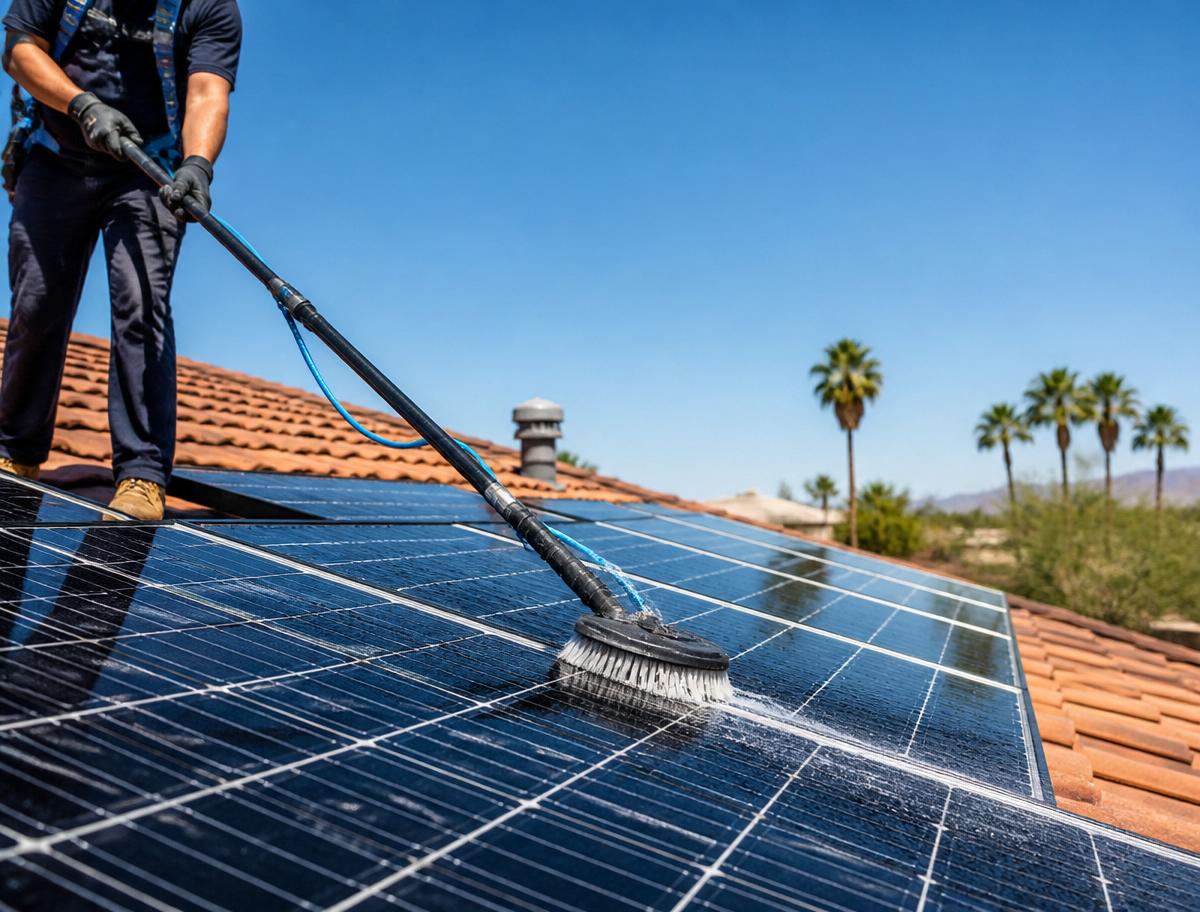
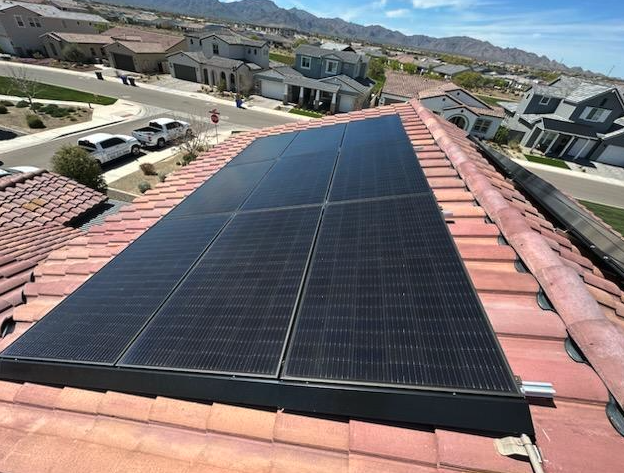
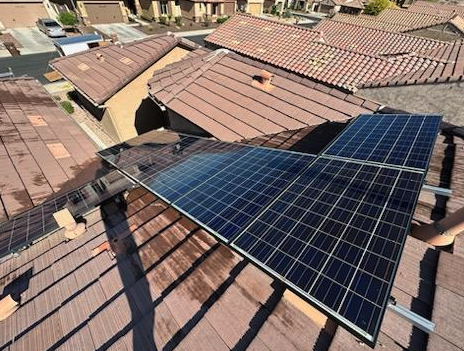
Solar Panel Cleaning
Restore panel efficiency and protect your energy investment across the Phoenix Valley.
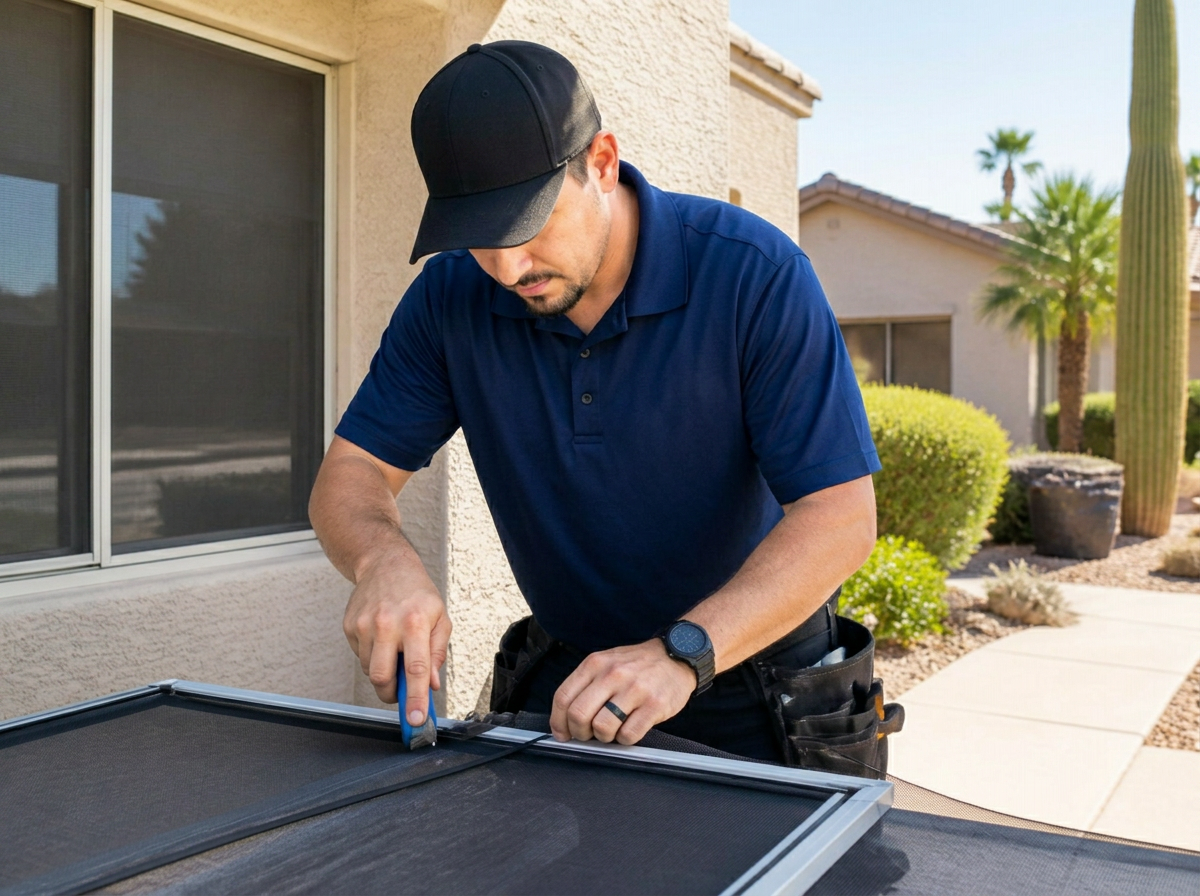
Window Screen Service
Screen cleaning, re-screening, and full replacements — solar and standard mesh.
Family-Owned. Serving Scottsdale Since 2010.
Sparkle Tech Window Washing LLC is a family-owned window cleaning service headquartered in Scottsdale, AZ. We carry comprehensive Workers' Compensation, General Liability Insurance, and a dishonesty bond — a registered Arizona LLC for your protection.
Clean windows change the entire feel of your home. That's why our quality is unmatched — and why Scottsdale homeowners have trusted us for over a decade.
Scottsdale & the Entire Phoenix Valley
Scottsdale-based, valley-wide. From Old Town Scottsdale to Paradise Valley, Cave Creek to Fountain Hills — we cover every corner of Maricopa County.
Trusted by Scottsdale Homeowners for 15+ Years
"They did a great job on my windows and screens. They were prompt and professional. I will definitely use them again."
"We've been using Sparkle Tech for several years and have always been pleased with the work they do. They come in, do their magic and leave. I don't have to check to see if they did a good job.. they always do!! We highly recommend them!!"
"I've been using their services for 4–5 years now & Sparkle Tech never disappoints…always on time, extremely personable, meticulous detail and outstanding results!! Highly recommend."
"Sparkle Tech left our DC Ranch windows literally spotless — inside and out. Easy to book with and the crew showed up on time in matching polos. Best window service I've hired in Scottsdale."
"Booked them for solar panel cleaning after monsoon season. My production went up almost 20% the following month. Professional, insured, honest pricing. Will be a yearly service."
"Family-owned, and it shows. They rebuilt three of my screens and cleaned every window in the house for less than I expected. No upsells, no games — just quality work."
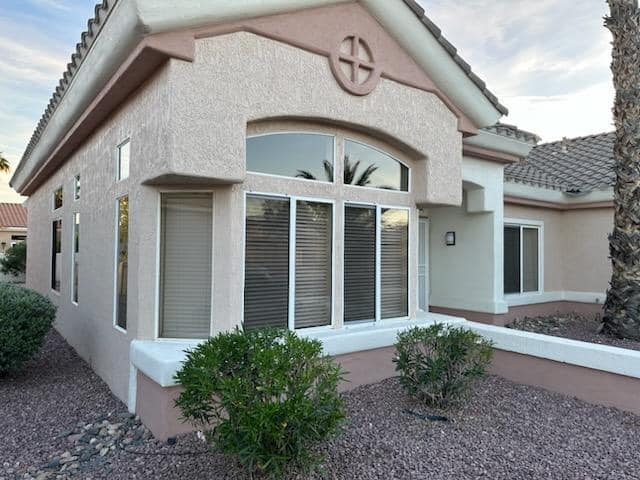
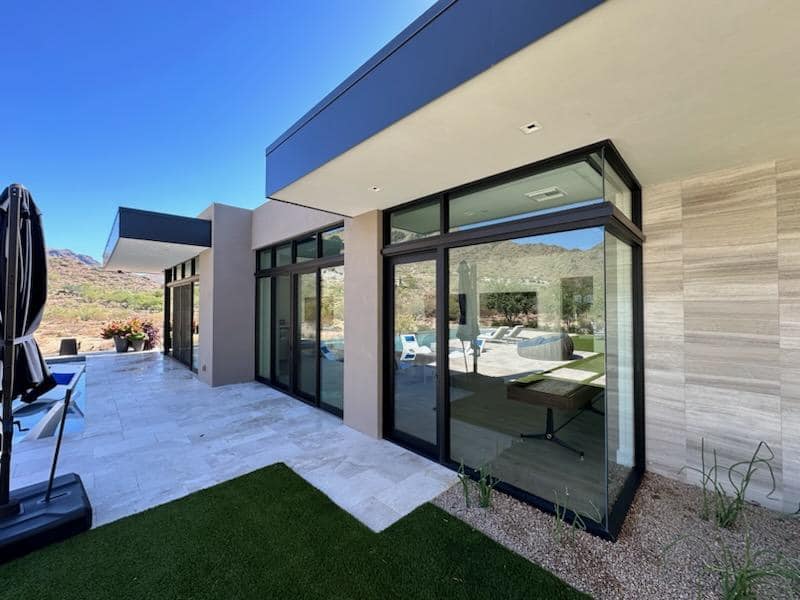
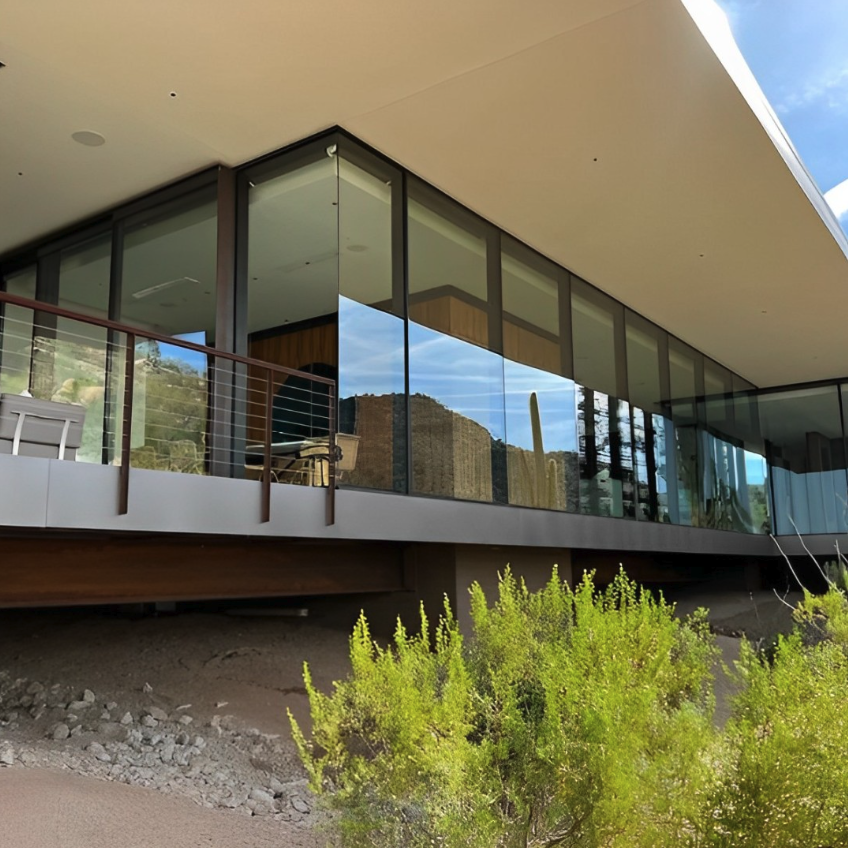
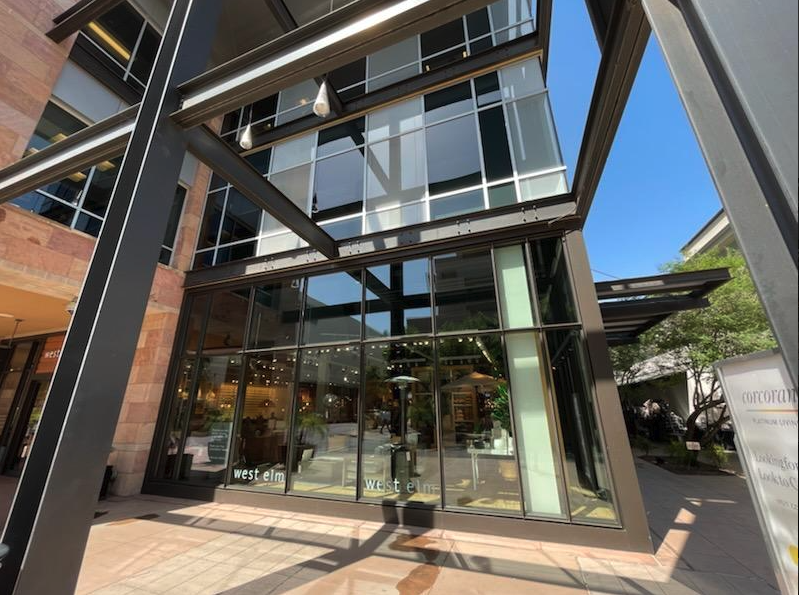
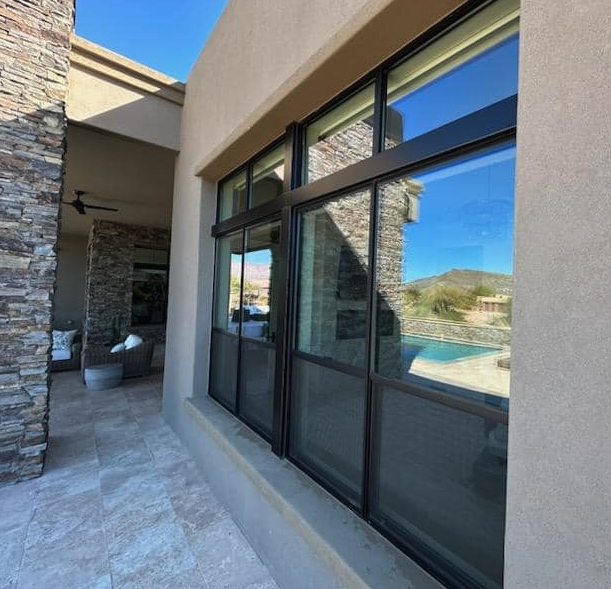
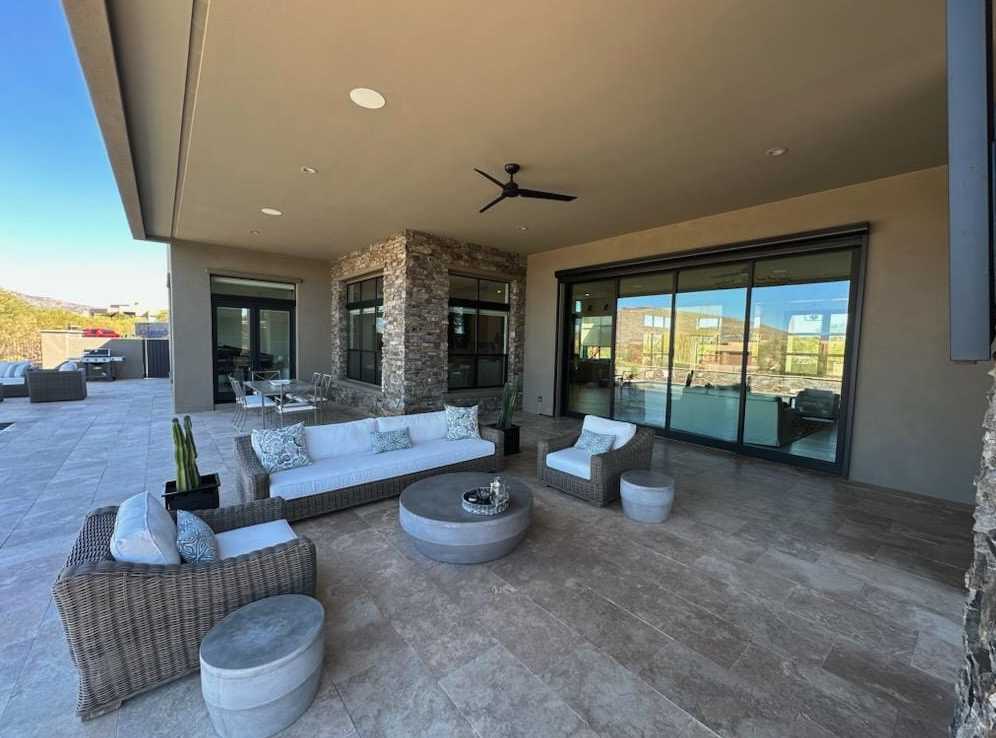
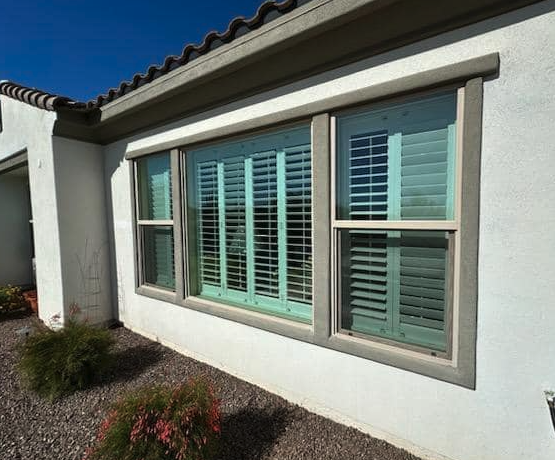
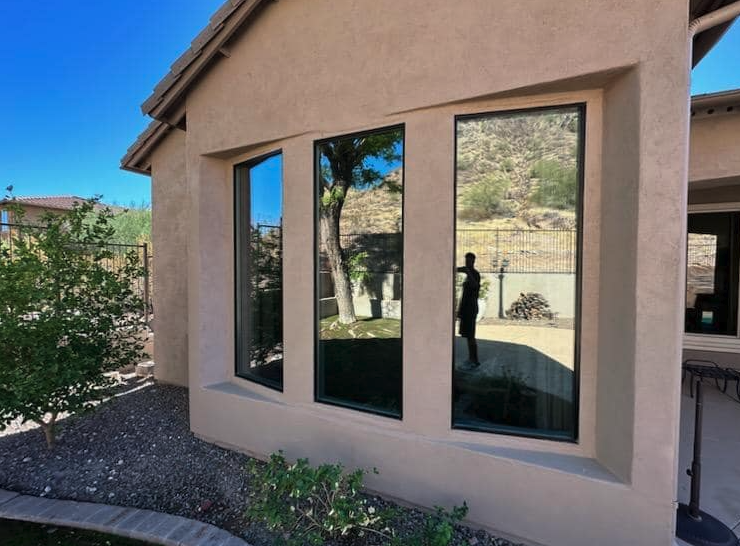
Real Jobs Across Scottsdale
Recent window cleaning, solar panel, and screen jobs from our Scottsdale crews.
Answers for Scottsdale Homeowners
Common questions about window cleaning, solar panel cleaning, and screen service in Scottsdale and the Phoenix Valley.
Do I need to be home during the window cleaning service?+
No, you don't need to be home for exterior-only cleanings — many Scottsdale homeowners leave a gate code, unlock a side gate, or use a smart-lock code so we can access the exterior while they're at work. For interior + exterior service you (or someone 18+) will need to be home so we can safely reach every room. Either way, our insured Scottsdale crew arrives in uniform, on time, and treats your home like our own.
How often should I have my windows cleaned in Scottsdale, AZ?+
Most Scottsdale homeowners have their windows professionally cleaned twice a year — once in the spring and once right after monsoon season in September. Scottsdale's combination of desert dust, hard water sprinkler overspray, and monsoon mineral spray etches glass fast, so twice-a-year cleaning is the sweet spot for keeping windows crystal-clear year-round.
How long does it take to clean the windows of an average-sized home in Scottsdale, AZ?+
For a typical single-story Scottsdale home (around 2,000–2,600 sq ft), interior + exterior window cleaning takes our crew about 2–3 hours. Two-story Scottsdale homes and larger estates in DC Ranch, Silverleaf, or Troon usually run 3–5 hours. We always give you an accurate time estimate up front so you can plan your day.
Do I need to remove all outdoor items, such as furniture, before the window cleaning service?+
No — you don't need to prep anything. Our Scottsdale crew moves patio furniture, planters, and grills as needed and puts everything back exactly where we found it. We only ask that you secure pets and let us know about any fragile décor near windows so we can be extra careful.
Can window cleaning damage my property's surface?+
Not when it's done right. Sparkle Tech uses soft-bristle scrubbers, professional-grade squeegees, and warranty-friendly cleaning agents on every Scottsdale job. We protect landscaping and hardscape, use drop cloths indoors, and never blast surfaces with high pressure. In 15+ years of Scottsdale window cleaning, our streak-free process has been safe on stucco, brick, tile, wood trim, and every finish we've encountered.
What cleaning agents do you use?+
We use a professional-grade, biodegradable window cleaning solution paired with deionized water for a truly streak-free finish. Everything we use is safe for kids, pets, landscaping, and every surface on your Scottsdale home — no harsh ammonia, no residue, and no runoff that will damage plants or hardscape.
Are you licensed and insured to provide window cleaning services in Scottsdale, AZ?+
Yes — Sparkle Tech Window Washing LLC is a registered Arizona LLC and fully licensed, bonded, and insured to work throughout Scottsdale and Maricopa County. We carry General Liability, Workers' Compensation, and a dishonesty bond. Certificates of insurance are available on request for HOAs and property managers in DC Ranch, Silverleaf, Grayhawk, Troon, and every gated Scottsdale community.
Do you provide any guarantees for your work?+
Absolutely. Every Sparkle Tech window cleaning comes with our streak-free guarantee — if you spot a streak or missed pane within 48 hours, we'll come back and fix it at no charge. It's why so many Scottsdale families have stayed with us for over a decade.
Ready for spotless windows?
Free estimates. Honest pricing. Same-week booking across the Phoenix Valley.