


So, the contractors have finally packed up and your Phoenix-area renovation is complete. The excitement is real! But that feeling can fade fast when you’re left staring at the aftermath: a fine layer of drywall dust on literally everything, stray scraps of wood in the corners, and a general film of construction grime.
That final hurdle between a messy job site and a sparkling new space is a proper post-construction cleanup. This isn't your average weekend tidying session. We're talking about a strategic attack on uniquely invasive dust and leftover debris that can even be hazardous.
Your Post-Construction Cleanup Game Plan
To get from chaos to clean, you need a solid plan. Professionals don’t just start scrubbing randomly; we use a phased approach to make sure no detail gets missed and we aren't just moving dirt from one spot to another. The logic is simple: work from big to small, and from top to bottom.
Tackling the Mess in Phases
The entire process breaks down into three core stages. You start with the big, obvious stuff, then move into the detailed deep clean, and finish with a final touch-up that makes the space truly ready.
This simple workflow shows how we kick things off. It’s all about a logical progression from initial assessment to dealing with that stubborn, fine dust.
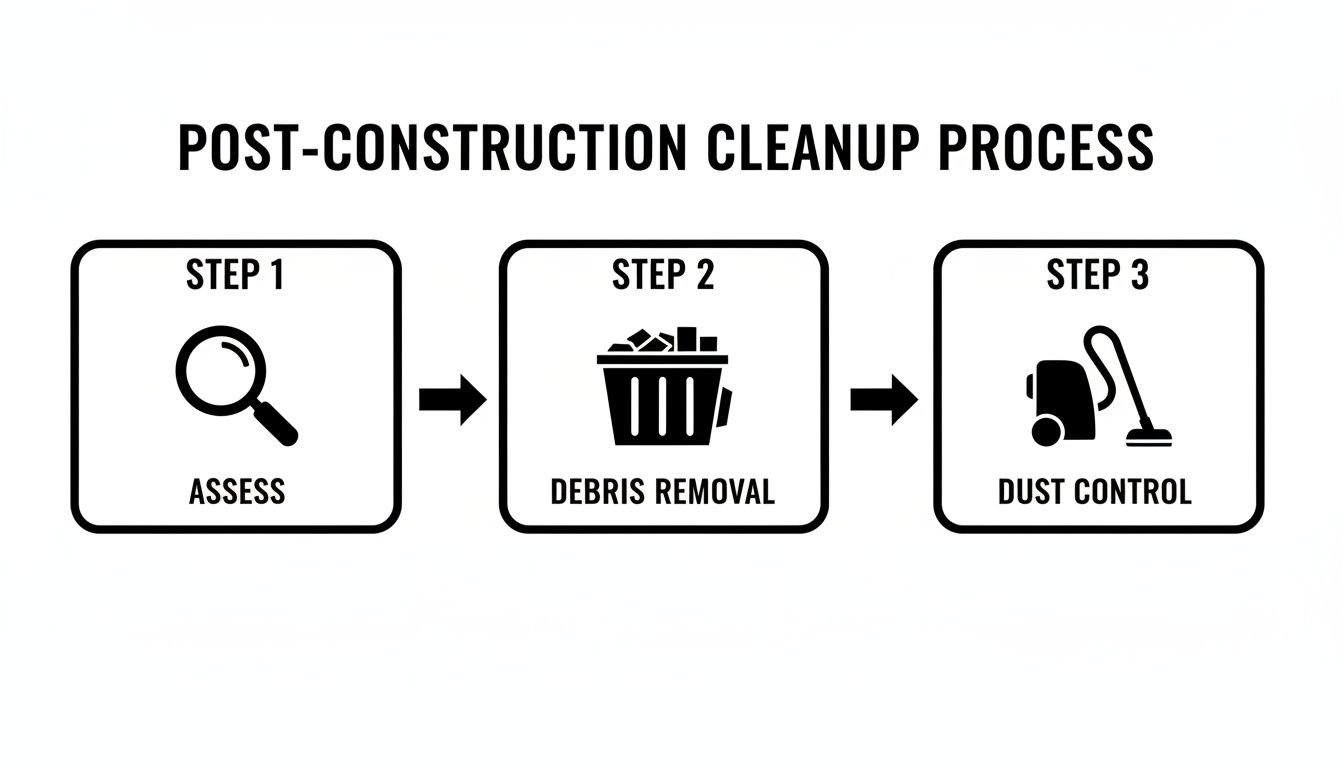
Starting with a good look around helps you understand the scope. From there, you clear out all the loose junk before you can even think about tackling the dust that has settled everywhere.
To give you a clearer picture, here’s how these phases typically break down.
Post-Construction Cleaning Phases at a Glance
| Phase | Primary Goal | Key Tasks |
|---|---|---|
| Phase 1: Rough Clean | Remove large debris and trash. | Sweeping or vacuuming up large items, disposing of leftover materials, and clearing the site of all major clutter. |
| Phase 2: Deep Clean | Tackle fine dust and prepare surfaces. | Wiping down all surfaces from top to bottom (ceilings, walls, fixtures), detailed vacuuming with HEPA filters, and cleaning inside cabinets and closets. |
| Phase 3: Final Detail | Address finishing touches for a move-in ready finish. | Polishing fixtures, cleaning windows and glass, removing smudges, and a final floor cleaning. |
Each phase builds on the last, ensuring a systematically clean space without re-soiling areas you've already finished.
Why This Isn't a DIY Job for Most
It’s easy to underestimate the sheer scale of this task. There's a reason the professional construction cleaning market hit a staggering USD 72,358.2 million in a single year—it's a tough, specialized job that’s booming right alongside the construction industry.
Here in Scottsdale and Phoenix, we see it every day. That fine particulate dust isn't just an annoyance; it can reduce the natural light coming through your brand-new windows by up to 30%! Getting that brightness back requires specific techniques and tools.
A proper cleanup isn't just for appearances. It's about creating a safe, healthy indoor environment by removing airborne dust and potentially hazardous materials left over from the build.
Ultimately, a thorough post-construction cleanup is a crucial final step, which is why we include it as part of a comprehensive exterior home maintenance checklist. A property that’s truly clean, both inside and out, is healthier and holds its value better.
Conquering Construction Dust

Let's be honest: the biggest headache of any post-construction cleanup is the dust. This isn’t the stuff that settles on your bookshelf every week. We're talking about an incredibly fine powder—a mix of drywall, wood, concrete, and silica—that has a stubborn way of getting everywhere. It clings to every surface, hangs in the air, and settles into the most impossible-to-reach corners.
Simply taking a dry cloth to it is a waste of time. You’ll just stir the dust up, watching it float around before settling right back where it was. To get rid of it for good, you need a methodical game plan and the right gear. Without one, you'll be finding that gritty construction residue for weeks to come.
The Top-Down Dusting Method
There's a cardinal rule in professional cleaning: always work from top to bottom. Gravity is your best friend here. When you start high, any dust you knock loose falls onto surfaces you haven't touched yet. This single principle saves you from the frustration of having to re-clean everything.
Think about it. If you wipe down your brand-new countertops first, and then dust the light fixtures above them, you’ve just created more work for yourself. Instead, follow a logical progression:
- Start with the highest points: Get your ladder out and tackle ceiling fans, light fixtures, and the tops of tall cabinets or built-in shelving.
- Work your way down the walls: A long-handled microfiber mop is perfect for wiping down walls from the ceiling all the way to the baseboards.
- Finish with the lower surfaces: Now you can move on to countertops, furniture, and, finally, the floors.
This top-down approach ensures that when you get to the floors, you're dealing with all the dust at once, captured in one final sweep.
A critical mistake we see all the time is underestimating how much dust clings to vertical surfaces. Walls can hold a shocking amount of fine powder that goes airborne every time a door closes or the A/C kicks on.
The Right Tools for Dust Removal
Your success here really depends on having the proper tools. Your standard household cleaning supplies just won't cut it against the sheer volume and fineness of construction dust.
HEPA Filter Vacuums
A vacuum with a High-Efficiency Particulate Air (HEPA) filter is absolutely non-negotiable. Regular vacuums often just spew the finest particles right back into the air. A true HEPA filter, on the other hand, is built to capture 99.97% of airborne particles as small as 0.3 microns. This is the only way to effectively remove the microscopic drywall and concrete dust and genuinely improve your indoor air quality.
Damp Wiping with Microfiber
After a thorough vacuuming, the next step is to damp-wipe everything. The key word is damp, not soaking wet. A lightly moistened microfiber cloth has an electrostatic charge that grabs and holds onto dust particles instead of just pushing them around. For a perfect finish, use one damp cloth to clean and a second, dry one to buff the surface immediately after.
A Special Note on Protecting Your Phoenix HVAC System
Here in the Phoenix area, construction dust poses a particular threat to your HVAC system. When that fine dust gets into your ductwork, it combines with our ever-present desert dust. The result? Your system continuously circulates contaminated air, destroying your home's air quality.
Before you even start the deep clean, turn your HVAC system off completely. Go a step further and cover the vents to keep dust from getting sucked in. Once all the cleaning is done, replacing the air filters is a must. Honestly, for most projects, we recommend getting your air ducts professionally cleaned. It's a smart investment in your long-term air quality and keeps your system running efficiently.
Bringing Clarity Back to Your Windows
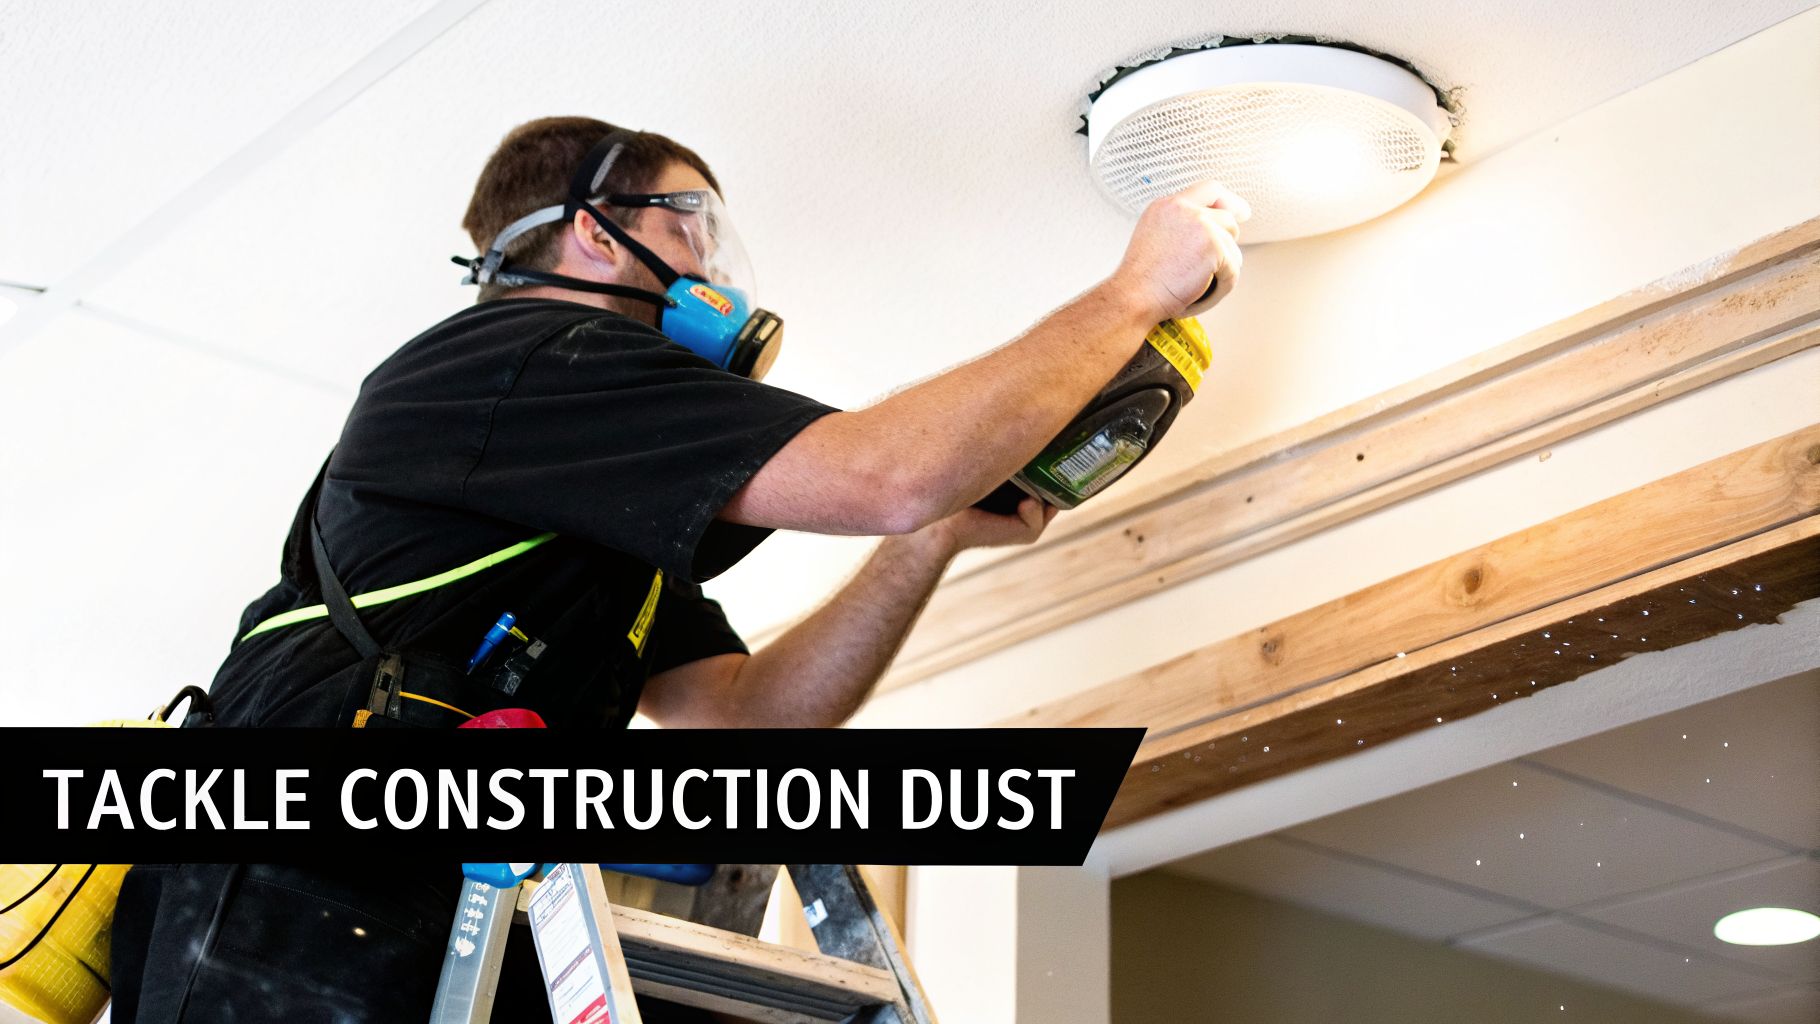
Let's be honest, after a remodel, your windows have seen better days. They're likely coated in a fine layer of drywall dust and dotted with paint splatters, stucco overspray, or the gummy residue from protective film. Getting them truly clean is one of the most rewarding steps in the whole process, but it’s a job that demands patience and the right touch.
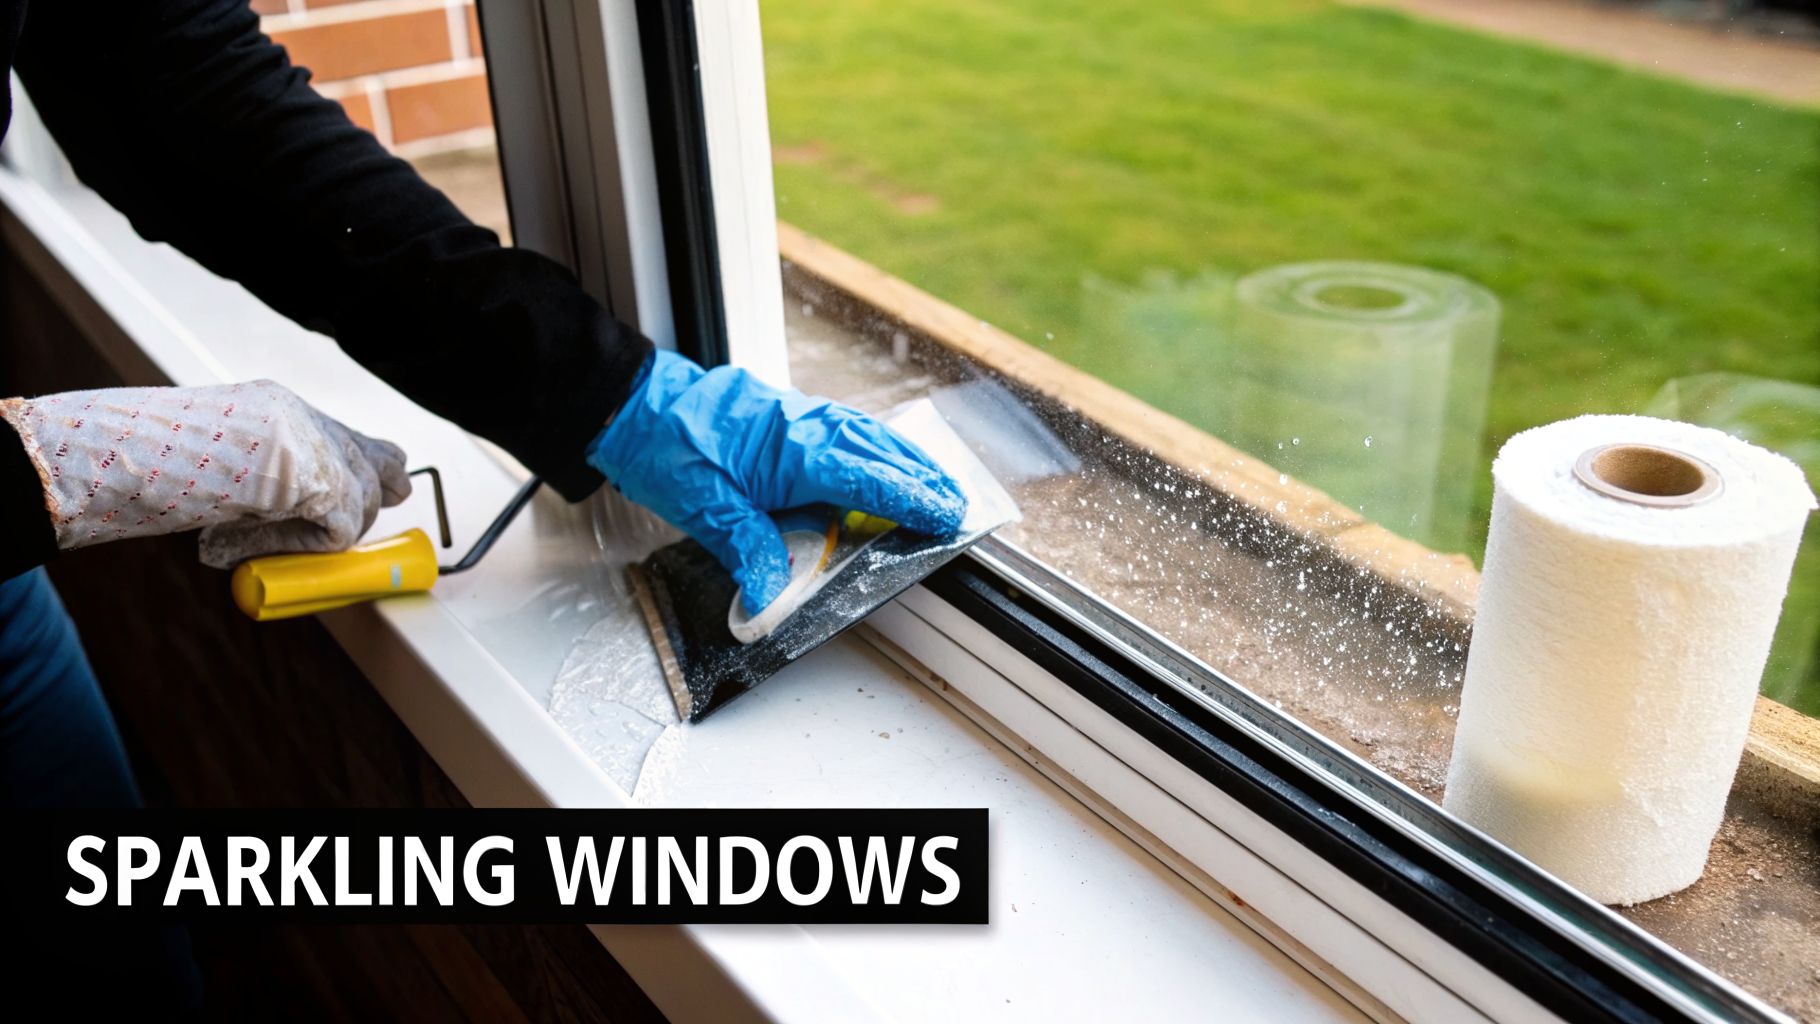
This isn’t a job for a paper towel and a bottle of Windex. That fine construction dust is highly abrasive, and just wiping it around will almost certainly leave you with frustrating smears and, even worse, permanent scratches on the glass. You have to approach it like a pro to get a perfect, safe result.
Tackling What’s Stuck on the Glass
First things first, you have to deal with the stubborn stuff. We’re talking about dried paint, bits of silicone or caulk, and the tacky adhesive left behind by stickers or plastic sheeting. If you get impatient here and grab the wrong tool, you can easily ruin a brand-new window.
The workhorse for this task is a high-quality, 6-inch window scraper fitted with a new, razor-sharp blade. But the tool is only half the battle—technique is everything. Never, ever use a scraper on dry glass. The surface must be wet and lubricated with soapy water, which allows the blade to glide and lift debris instead of gouging the pane.
Always keep the blade flat against the glass at a low angle, around 30 degrees, and use short, confident strokes. Pay attention to the sound. If you hear a gritty noise, stop immediately, clean your blade, and re-wet the area. That grit is what causes deep scratches.
For really tough material like dried silicone, a plastic razor blade is a great starting point. It's less aggressive than metal but can often loosen the bond enough for a final, gentle pass with the steel blade. If you're facing a lot of paint overspray, we've put together some extra tips in our guide on how to remove paint from glass windows without scratches.
Detailing the Tracks and Frames
A crystal-clear window pane looks ridiculous next to a track and frame caked in filth. Construction debris naturally settles in these channels, and if you ignore it, you’ll soon find your windows are stiff and difficult to open or close.
This is where the detailed, hands-on work really begins. There's no quick fix here; you need a few tools and a methodical approach to get into every single corner.
- Start with a Vacuum: Grab a shop vac with a crevice tool attachment and get all the loose dust, dirt, and stray debris out of the tracks and sills.
- Agitate the Grime: Use a stiff grout brush or even an old toothbrush to scrub the corners and break up any caked-on gunk.
- Wipe and Finish: Follow up with a damp microfiber cloth to wipe the tracks clean. For those impossible-to-reach corners, wrap the cloth around a putty knife to get deep into the grooves.
Once the tracks are clean, give the entire window frame a final wipe-down. Always use a gentle cleaner, like a simple soap-and-water solution, especially on painted wood frames where harsh chemicals could strip the finish.
Don’t Overlook Screens and Solar Panels
Your job isn't quite done. Window screens and solar panels are dust magnets during a renovation, and they need attention, too.
Window screens catch an unbelievable amount of airborne dust. Carefully remove them from the frames and give them a good wash with soapy water and a soft-bristled brush. Rinse them well with a hose and let them air dry completely before putting them back in to prevent any mold or mildew issues.
If you have solar panels, they’ve also taken a hit. A layer of construction dust can seriously impact their efficiency by blocking sunlight. They need to be cleaned with care, typically using a soft, water-fed pole brush and purified water to avoid leaving mineral spots and to get them back to producing at peak capacity.
The Final Detailing for a Move-In Ready Space
This is where the magic really happens. With all the heavy-duty dust and debris gone, we can finally focus on the fine-tuning that transforms a job site into a truly pristine home or business. It’s the meticulous, room-by-room work that makes a space feel brand new and ready for its big reveal.
We're shifting gears from bulk removal to a deep, hygienic polish. The high-traffic, high-touch areas like kitchens and bathrooms are where this matters most. They need to be more than just visually clean—they need to be completely sanitized and welcoming.
Sanitizing Kitchens and Bathrooms
Even after a thorough initial cleaning, you'll find a fine layer of dust coating absolutely everything in a new kitchen or bathroom. We've seen it settle inside brand-new cabinets and drawers countless times. The first real step here is to vacuum out every single one before you even think about wiping them down.
Once the loose dust is gone, you can get to the surfaces and fixtures. Here’s what we always focus on:
- Appliances: It's time to peel off all those protective films and stickers. Don’t wait—the Phoenix heat can bake the adhesive on, making them a nightmare to remove later. Then, wipe down every surface, inside and out.
- Fixtures: Polishing all the chrome, stainless steel, and nickel fixtures is what delivers that sparkle. Faucets, showerheads, and cabinet pulls should gleam without a single smudge or water spot.
- Countertops: Disinfect every inch of your new countertops. Make sure you're using the right cleaner for the material—what works for quartz could seriously damage a new granite or marble installation.
Here's a pro tip we swear by: if you can access the space behind or under appliances, clean it. A shocking amount of drywall dust and debris gets trapped there, and it will eventually find its way back into your air if left alone.
Perfecting Your Floors and Baseboards
Those beautiful new floors are the foundation of your new space, but they often take a beating during the final days of a project. You'll almost always find scuffs, smudges, and that stubborn, fine dust that’s settled into the grout lines or seams.
Every type of flooring demands its own approach. For new hardwood, it’s all about gently buffing out minor marks and using a cleaner that won't strip the fresh finish. For tile, however, the real enemy is grout haze. It often takes a stiff-bristled brush and some elbow grease to scrub away that chalky film and any leftover residue.
And for the finishing touch? One last, careful wipe-down of all the baseboards. They are magnets for the last bits of dust that settle during the cleaning process itself. Clean baseboards are the detail that frames a room perfectly and truly signals a professional-level cleaning after construction. It’s this final pass that makes all the difference.
DIY Cleanup vs. Hiring a Professional Service
After the dust settles on your renovation or new build, there's always that tempting thought: "I can handle the cleanup myself and save some money." On the surface, it seems simple enough. But as anyone who's been there knows, post-construction cleanup isn't your average weekend tidying session. It’s a beast of its own, and deciding whether to tackle it yourself or call in a pro like Sparkle Tech is a bigger decision than you might think.
Going the DIY route looks cheaper at first glance, but the hidden costs sneak up on you fast. This isn't a job for a household broom and dustpan. That fine, gritty construction dust gets everywhere, and you'll need specialized gear to deal with it properly. We're talking about renting or buying a vacuum with a true HEPA filter, specialized scrapers for removing paint and adhesive without scratching surfaces, stacks of microfiber cloths, and sturdy ladders. The shopping list—and the bill—grows surprisingly quickly.
Then there's your time. What seems like a few hours of work can easily swallow your entire weekend. It’s back-breaking, tedious labor that involves more than just wiping down countertops. You're on your hands and knees, reaching into high corners, and methodically hunting down hazardous dust that has settled in every nook, cranny, and air vent.
The Real-World Difference
So, what does a professional bring to the table? A seasoned crew walks in with a game plan and an arsenal of commercial-grade equipment built for one purpose: to get the job done right, safely, and efficiently. It's not just about having a more powerful vacuum; it's about experience. They know precisely which solvents work on which materials and how to remove stucco from glass without leaving a single scratch.
There’s a reason the professional cleaning sector is a massive and growing field. The Commercial Construction Cleaning Service market is projected to skyrocket past $10 billion by 2025, with labor making up a huge 80% of operational costs. That number tells you everything: the real value is in the trained, efficient people who know exactly what they're doing. For a business or property manager, handing this task off isn't an expense—it's a strategic move to guarantee a move-in ready property.
Think about the final result you’re after. A DIY job might look clean, but lingering dust in the air vents or fine scratches on your brand-new windows can be a frustrating discovery. A professional service delivers a space that is truly finished, protecting your health and your investment.
When you do hire help, it’s also critical to make sure they’re properly credentialed. Understanding the difference between a company that is bonded versus one that is insured can save you a massive headache. We break it all down in our guide on the distinctions between bonded and insured services—it's essential reading for protecting your property.
DIY vs. Professional Post-Construction Cleaning
Making the right choice comes down to weighing the trade-offs between cost, time, and the quality of the final result. This table puts everything side-by-side to make your decision a little clearer.
| Factor | DIY Approach | Professional Service (e.g., Sparkle Tech) |
|---|---|---|
| Equipment & Supplies | You'll have to buy or rent everything, from HEPA vacuums and scrapers to a variety of specialized chemicals. | The team arrives fully equipped with all necessary commercial-grade tools and eco-friendly cleaning solutions. |
| Efficiency & Time | Expect to spend multiple days or even weekends. There's a steep learning curve to avoid damaging surfaces. | An experienced crew works systematically and efficiently, often finishing the job in a fraction of the time. |
| Scope & Quality | It's easy to miss hidden areas like high ledges, light fixtures, and air vents, risking a less-than-perfect finish. | A detailed, top-to-bottom checklist is followed to ensure a flawless, scratch-free, and truly comprehensive clean. |
| Safety & Results | You risk exposure to fine dust particulates and potential injury from ladders or improper tool use. Results can be inconsistent. | The team is trained, insured, and focused on safety, delivering a guaranteed, move-in ready space every time. |
Ultimately, whether you DIY or hire a pro depends on your budget, your timeline, and your standards. If you have the time, energy, and are willing to invest in the right gear, a DIY clean is certainly possible. But for a guaranteed, stress-free, and professionally finished space, bringing in an expert team is almost always the better investment.
Your Post-Construction Cleaning Questions, Answered
Once the last contractor has packed up their tools and the dust starts to settle (literally), a whole new set of questions pops up. You’re standing in your newly renovated or built space, but it’s far from move-in ready. Let's walk through some of the most common questions we get from homeowners and property managers right at this stage.
How Long Does a Post-Construction Clean Actually Take?
This is the million-dollar question, and the honest answer is: it depends. I've seen small bathroom remodels get done in just a few hours, but a brand-new custom home in Scottsdale can easily take a full crew several days to detail properly.
The timeline really hinges on a few key things:
- Square Footage: It's simple math—more space means more surfaces to clean.
- Level of Detail: Are we doing a quick "rough clean" to get rid of the major debris, or a "final clean" that makes the space pristine and ready for furniture? The final detail work takes the most time.
- Type of Work: A project with a lot of drywall sanding is going to be a completely different beast than one that was mostly tile work. That fine, powdery dust gets everywhere and requires a more intensive approach.
What’s Included in a Standard Service?
A true post-construction clean goes way beyond a typical maid service. This isn't just about wiping down countertops; it's a meticulous, top-to-bottom process designed to hunt down and eliminate construction residue.
Think of it this way: we’re cleaning surfaces you didn't even know were dirty. A professional crew will tackle everything from peeling the protective adhesive off new windows and scraping off specks of paint to vacuuming out every cabinet and drawer. We’re talking about wiping down every single wall, baseboard, and light fixture.
Our goal is to hit every single surface, from the ceiling fans all the way down to the grout lines in the floor. A good pro has a checklist to make sure nothing is missed—especially the hidden dust in air vents, window tracks, and behind new appliances.
When Is the Best Time to Schedule the Cleaning?
Timing is everything. You want to schedule your final clean after every single trade worker is 100% finished. That means the painters, the flooring guys, the electricians—everyone. If you clean before they're done, you'll just have to do it again.
Here’s a pro tip: book your cleaning for 24-48 hours after the last worker leaves. This gives all that super-fine airborne dust a chance to fully settle. That way, we can capture it all in one final, comprehensive pass. This kind of strategic timing is key for an effective cleaning after construction.
This final step isn't just for looks; it's a huge factor in the health of the building. The contract cleaning services industry ballooned to $389.56 billion in 2024, driven in part by a growing understanding of how specialized cleaning impacts property value and occupant well-being. Lingering construction dust can wreck indoor air quality and lead to respiratory issues, making a professional cleanup a direct investment in your health. You can read more about these industry trends and how they’re shaping property management.
Ready for a flawless, stress-free finish for your Phoenix-area project? Let the experts at Sparkle Tech Window Washing LLC handle the dirty work. You’ve handled the hard part of the renovation; now it's time to enjoy your beautiful new space. Get your free, no-obligation quote today!