

If you've ever battled streaks and smudges on your windows, only to end up with a view that’s hazier than when you started, you're not alone. Getting that truly professional, invisible-glass look isn't about scrubbing harder—it's about working smarter. It’s a craft that combines the right gear with time-tested techniques, especially here in the Arizona sun.
Why Professional Window Cleaning Methods Matter

The difference between a DIY job and a professional one is stark. Most of us grab a bottle of blue spray and some paper towels, which often just smears the grime around. A pro, on the other hand, uses a system designed to lift and remove every speck of dirt, leaving nothing behind. This guide is all about showing you that system.
This isn't just a niche skill; it's a huge industry. The global window cleaning market hit an incredible $102.54 billion in 2023, which tells you just how much people value a clear view. More and more, that demand includes eco-friendly cleaning, proving you don’t need harsh chemicals for a perfect shine. You can dig into more of these industry trends on BizPlanr.ai.
To give you a roadmap of what we'll cover, here’s a quick overview of the professional process. This checklist breaks down the core components of getting a flawless, streak-free shine every time.
At-a-Glance Pro Window Cleaning Checklist
| Phase | Key Action or Tool | Why It's Critical for Pro Results |
|---|---|---|
| 1. Gear Up | Professional-grade squeegee, mop/applicator, and microfiber towels | Consumer-grade tools are the #1 cause of streaks. Quality gear is non-negotiable for a perfect finish. |
| 2. Prep the Area | Lay down towels to protect sills, floors, and furniture | Prevents water damage and messy drips, turning a sloppy job into a clean, controlled process. |
| 3. Mix the Solution | A few drops of dish soap in water or a specialized solution | Creates the "slip" needed for the squeegee to glide smoothly without skipping or leaving lines. |
| 4. The Technique | Apply solution with the mop, then use the squeegee with the "S-Method" or straight pulls | This is the heart of the craft. Proper technique removes 100% of the water and dirt in one pass. |
| 5. Detail Work | Wipe edges with a clean microfiber towel | "Detailing the glass" is the final touch that removes any lingering water lines along the frame. |
This table is just the starting point. Mastering these steps is what separates a frustrating afternoon of work from a quick, satisfying job with brilliant results.
Breaking Down the Pro Process
At its core, the professional method is all about control and efficiency. It’s a deliberate sequence of actions designed to prevent common mistakes like streaks, drips, and missed spots before they even have a chance to happen.
Here’s a taste of what you'll learn to master:
- Assembling the Right Toolkit: We’ll move past the grocery store aisle and into the world of professional-grade squeegees, applicators, and custom cleaning solutions.
- Perfecting the Technique: It's all in the wrist. You’ll learn about the right angles, pressure, and movements for a finish that’s completely free of streaks.
- Prepping Your Workspace: A pro always protects the home. We’ll cover how to safeguard your floors, sills, and landscaping before the first drop of water is used.
- Applying Local Knowledge: Cleaning windows in Phoenix comes with its own set of challenges, from hard water spots to battling the intense sun. We'll tackle those head-on.
The ultimate goal is efficiency and perfection. A professional knows how to get flawless results in a fraction of the time a DIYer might spend, all while avoiding common pitfalls like scratches or water damage to window frames.
By adopting these principles, you’re not just cleaning your windows—you’re preserving and enhancing one of your home's most important features. Let's get started and turn that hazy view into a crystal-clear panorama.
Gearing Up: The Pro's Window Cleaning Toolkit
If you really want to learn how to clean windows like a pro, the first thing you have to do is ditch the consumer-grade stuff. Seriously. Step away from the paper towels and that half-used bottle of Windex. Professionals get those flawless results because they use specific, durable equipment built for speed and perfection. Investing in the right gear is the single biggest move you can make to banish streaks for good and cut your cleaning time in half.
Your new best friend is the squeegee. This isn't the place to cheap out. Look for a quality model with a comfortable grip and, most importantly, a channel that uses replaceable rubber blades. This is absolutely non-negotiable. A tiny nick or a dull edge on the blade is the #1 culprit behind those frustrating streaks, so being able to pop in a fresh one is critical.
Next up, you need a good way to get your cleaning solution onto the glass. That's where a microfiber strip washer—you might also hear it called a T-bar or a mop—comes in. Its plush, absorbent cover holds just the right amount of soapy water, scrubbing away grime much more effectively than a rag ever could, all without dripping everywhere.
The Core of Your Kit
To go with that strip washer, you need a proper bucket. That round bucket from the garage? It’s clumsy and just doesn’t work well for this. Pros use a wide, rectangular bucket for a simple reason: it's designed to be wider than the applicator. This lets you dip the entire T-bar in one smooth motion, ensuring it’s completely soaked with your solution.
Here’s your shopping list for the absolute essentials:
- A High-Quality Squeegee: Start with a 12 or 14-inch model, which is a great all-around size for residential windows. Brands like Ettore or Unger are the industry standard, and for good reason.
- Microfiber Strip Washer: Get one that’s the same size as your squeegee. It just makes the whole process feel more fluid.
- Rectangular Bucket: A 5 or 6-gallon size gives you plenty of room to work without being too heavy.
- Lint-Free Microfiber Towels: You’ll need a good stack of these for "detailing"—that final wipe of the edges and cleaning up any drips on the sills.
- Scraper: A small, 1-inch scraper with a fresh blade is a lifesaver for stubborn gunk like paint flecks, bug residue, or tree sap. Used correctly, it won’t scratch the glass.
A professional's toolkit is all about efficiency. Every tool has a purpose and works as part of a system. This is what transforms window cleaning from a dreaded chore into a satisfying task that delivers perfect, gleaming results every time.
Mixing the Perfect Cleaning Solution
Once you've got the tools, you need the right cleaning solution. And here’s a little industry secret: it’s incredibly simple. Most pros don’t use fancy, complicated chemicals. The go-to recipe is just a bucket of cool, clean water with a few drops of a good liquid dish soap.
The soap’s main job isn’t actually cleaning—it’s to create "slip." This lubrication helps the squeegee blade glide effortlessly across the glass instead of skipping or chattering, which is what causes streaks. You're looking for just enough soap to make the water feel slightly slick between your fingers, but not so much that you're creating a bubble bath. If you’re curious about other options, you can learn more about what is the best window cleaning solution and when a commercial-grade product might be necessary.
Safety First, Always
A pro's toolkit isn't complete without the right safety gear. Even if you're just cleaning the ground-floor windows, things can get slick. Always wear non-slip shoes with a good tread to avoid any surprises on a wet walkway.
If a ladder is part of the plan for reaching those second-story windows, this becomes even more important. Make sure your ladder has stabilizers (or "stand-offs") at the top. These arms brace the ladder against the wall on either side of the window, not against the fragile frame or glass itself. It makes for a much safer, more stable platform to work from. Being a pro isn’t just about the final result; it’s about doing the job safely from start to finish.
Mastering Squeegee Techniques for Flawless Results
The squeegee is what truly separates the pros from the amateurs. When you get the hang of it, you’re not just scraping glass—you're gliding across it with a fluid motion that lifts and removes every last drop of dirty water for a perfectly clear finish.
The secret comes down to three things: your grip, your angle, and the pressure you apply.
Hold the handle firmly, but don't white-knuckle it; you want control, not tension. The magic angle for the blade against the glass is right around 30 degrees. If you go too steep, the blade will skip and chatter. Too shallow, and you’ll just smear water around instead of clearing it.
And go easy on the pressure. You don't need to force it. Let the weight of the tool do most of the work, maintaining just enough contact to keep the full length of the rubber blade against the glass.
The Two Core Squeegee Methods
Professionals have two go-to techniques, and which one you use really just depends on the size and shape of the window. For smaller, standard-sized windows, the Straight Pull is your workhorse. But for big panes of glass, the Fan Method is the undisputed champ for speed and perfection.
The Straight Pull Technique
This is the first move every window cleaner learns. It's ideal for double-hung windows or any pane you can clear in one downward stroke.
- Start by tilting the squeegee slightly, placing the top corner of the blade on a clean, dry spot at the top edge of the glass.
- In one smooth, continuous motion, pull the squeegee straight down to the bottom of the pane.
- Here's the critical part: overlap your next pull by about an inch or so. This tiny overlap is what prevents those annoying vertical streaks between strokes.
If you take away one thing, let it be this: Wipe your squeegee blade with a clean microfiber towel after every single pull. If you skip this, you're just dragging a line of grime onto the next section of glass. That’s a guaranteed recipe for streaks.
The Fan Method (or S-Method)
When you’re facing a big picture window or a sliding glass door, the Fan Method is king. It looks flashy, but it’s actually a highly efficient series of connected turns that lets you clean the whole window without ever lifting the blade.
You start at a top corner and "cut in" a clean edge. Then, with a simple flick of the wrist, you turn the squeegee to pull it across the top, turn again, and pull back across the other way. You create a flowing "S" pattern down the window, making sure each pass slightly overlaps the last one. The beauty of this technique is that you always maintain a "wet edge," which stops the cleaning solution from drying and leaving lines.
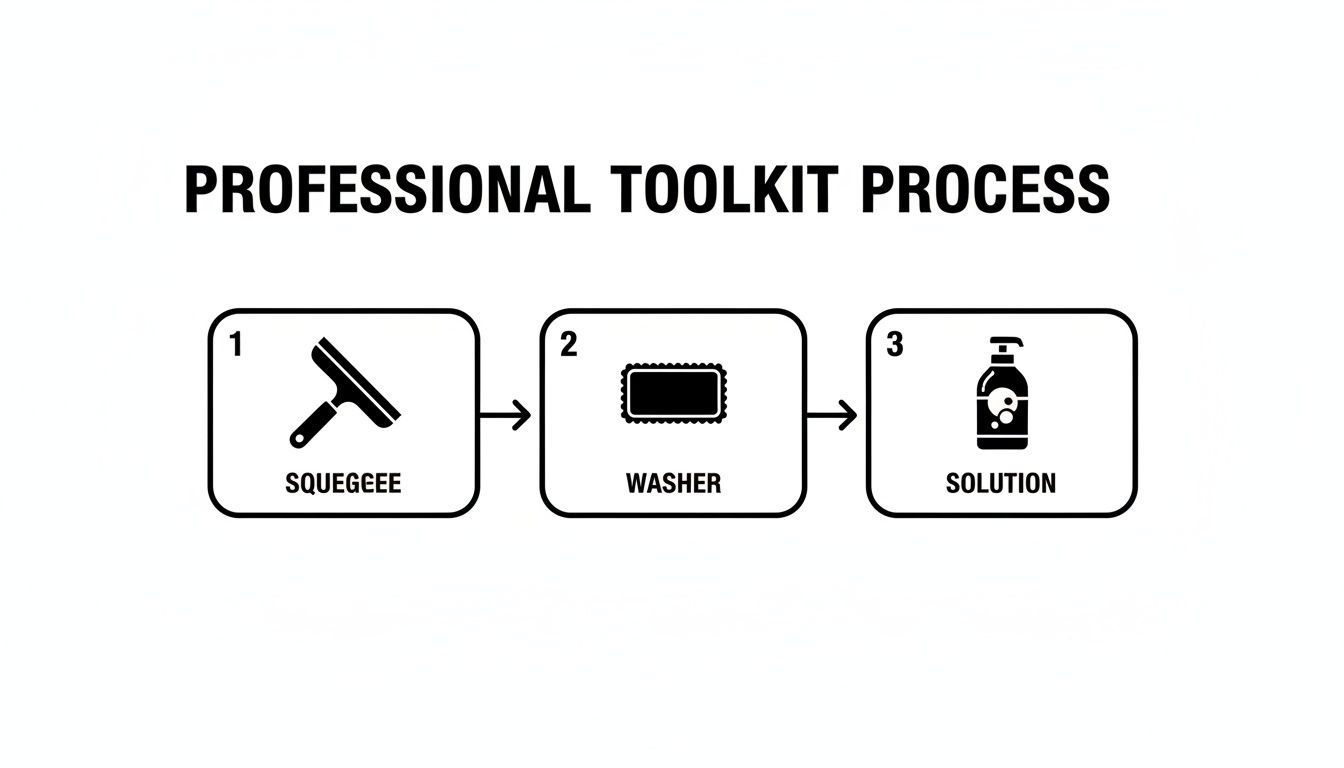
This process flow shows how all the tools work together in a professional system. The squeegee is the final, crucial step that delivers that crystal-clear result.
Troubleshooting Common Squeegee Problems
Even when you think you're doing everything right, things can go wrong. Streaks, chattering sounds, and leftover lines are common when you’re starting out, but thankfully, they’re all easy to fix.
Your squeegee will tell you what’s wrong. A series of tiny lines? That's a nicked blade. A chattering sound? Your angle is too steep, or your solution needs more soap. A hazy film? You probably used too much soap to begin with.
Here’s a quick guide to diagnosing and solving the most common issues:
- Streaking: This is almost always one of three things: a dull or damaged rubber blade, pressing too hard, or forgetting to wipe the blade between pulls. The first thing you should always do is pop in a fresh blade.
- Chattering or Skipping: This is a friction problem—the blade isn't gliding. Try lowering the angle of your squeegee to be a little more flush with the glass, or add just another drop of dish soap to your water for more "slip."
- Lines at the Edges: No matter how good you are, the squeegee always leaves a tiny bit of water against the frame. After you've cleared the main pane, just take a clean, dry microfiber cloth and do a quick "detailing" wipe around the perimeter of the glass.
Mastering these techniques isn't just about looks; it's about value. Real estate agents know that professionally cleaned windows can boost a property's perceived value by 10-15%. And while studies show licensed pros achieve 99% streak-free results, amateurs often face a 40% failure rate. You can see how professional services impact markets at Global Growth Insights. By practicing these methods, you’re using the same principles that deliver those top-tier results.
Solving Tough Window Cleaning Challenges
Perfecting your squeegee work is a huge step, but sometimes, windows throw you a curveball. This is where a pro’s mindset really makes a difference. You learn to diagnose the problem and switch up your strategy to tackle those frustrating hurdles, from stubborn mineral spots to grimy tracks.
It’s about more than just washing the glass. A truly professional job means restoring the entire window system, and that attention to detail is what gives you that perfectly clear, long-lasting result.
Battling Stubborn Hard Water Stains
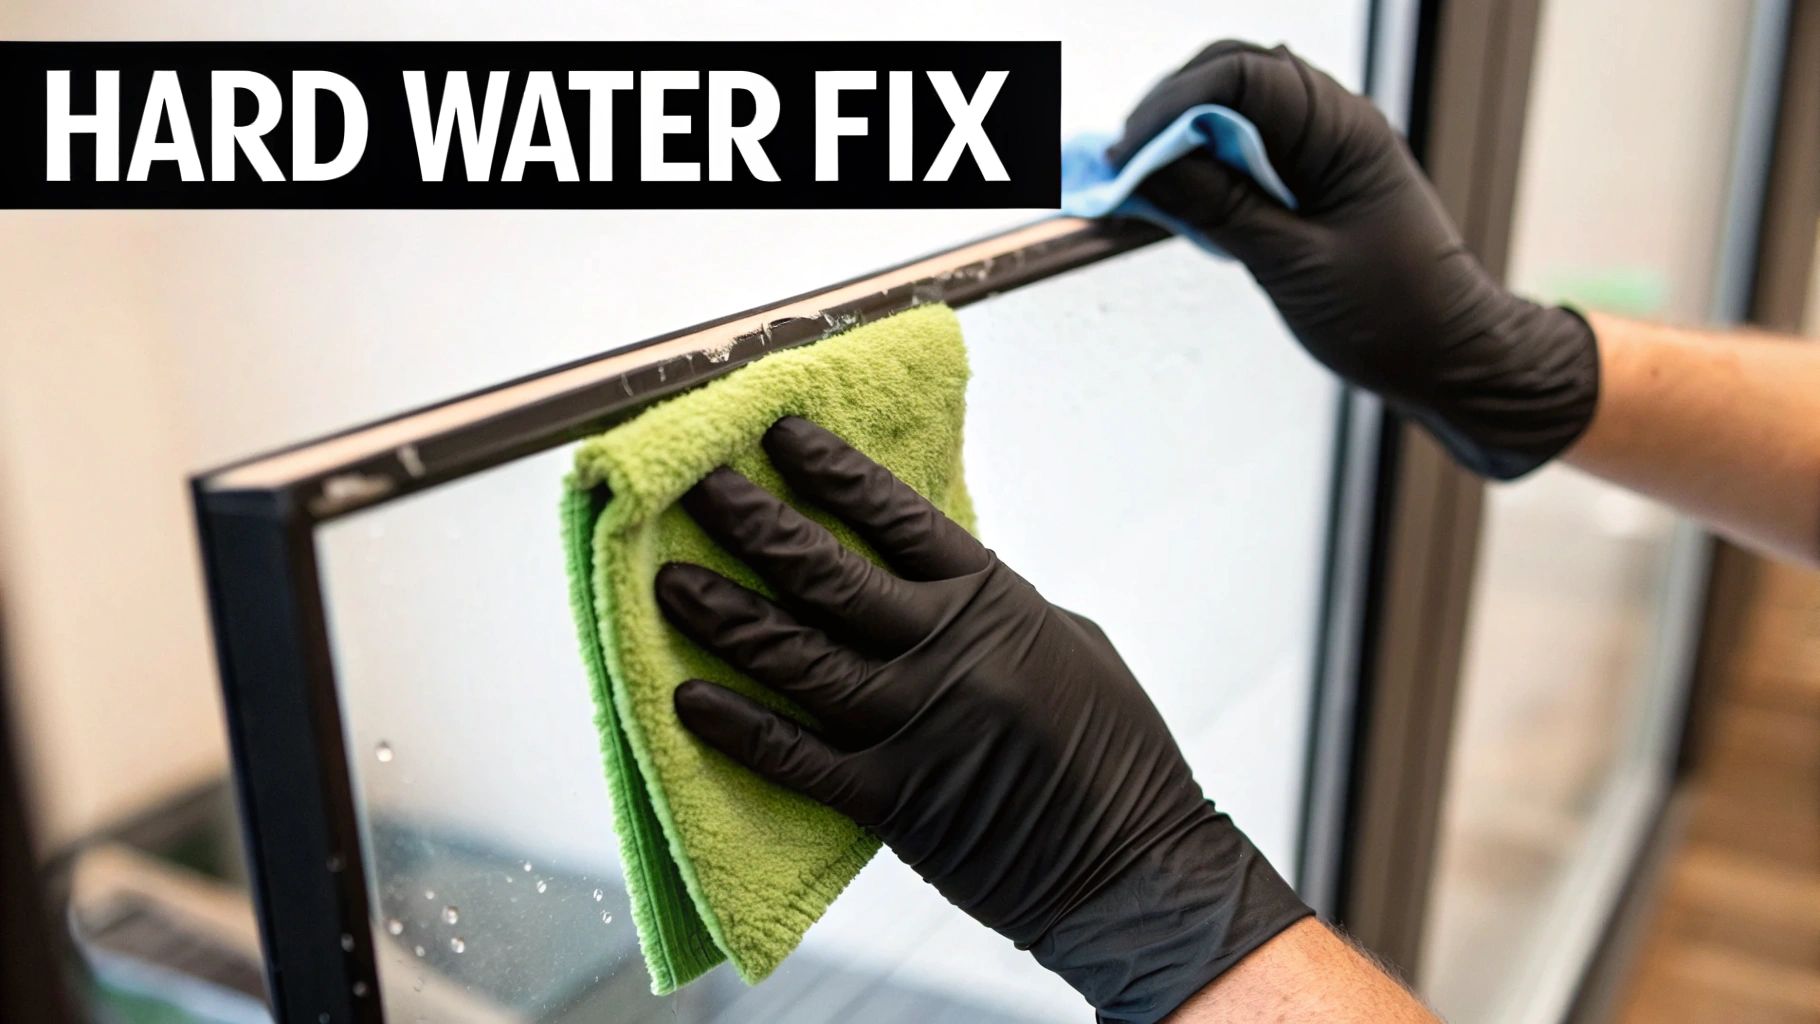
Here in Phoenix, hard water is the ultimate enemy of clean windows. Those chalky white spots left behind by sprinklers are concentrated mineral deposits—mostly calcium and magnesium—and your standard soapy water won't make a dent.
You need a two-part attack: a little gentle abrasion and, for the really tough cases, a specific chemical cleaner.
For most light to moderate spots, the secret weapon is #0000 grade steel wool. This is the finest grade you can get, and it’s a lifesaver. When used correctly, it’s completely safe on glass.
- Get the window nice and wet with your cleaning solution. Never, ever use steel wool on dry glass.
- With the wet steel wool, gently rub the stained areas in a circular motion. You don't need to apply a ton of pressure.
- Give the glass a good rinse before you bring in the squeegee. The mineral buildup should be gone.
If the stains are severe and have started to etch into the glass, you’ll need to step up to a specialized hard water stain remover. These products are often acid-based, so use them with care—always wear gloves and follow the manufacturer's instructions to the letter. We cover this in more detail in our guide on how to remove hard water stains from windows.
Troubleshooting Common Window Cleaning Problems
Even seasoned pros run into issues. The key is knowing how to spot the cause and fix it quickly. Here's a quick guide to the most common problems you'll face.
| Problem | Common Cause | Professional Solution |
|---|---|---|
| Streaks | Dirty water, dirty squeegee blade, or too much solution left on the glass. | Change your water frequently, wipe the blade after every pull, and use a light touch with the squeegee. Ensure your overlaps are consistent. |
| Hazy Film | Residue from previous household cleaners (like Windex) or a very dirty applicator. | Pre-wash the window with a clean, damp microfiber towel before using your professional solution. In some cases, a second cleaning is needed. |
| Water Drips | Excess water running from the top frame or seals after squeegeeing. | After applying the solution, run a dry microfiber towel along the top and side edges of the frame before you start your first squeegee pull. |
| Hard Water Spots | Mineral deposits left from evaporated water (common from sprinklers). | For light spots, use wet #0000 steel wool. For heavy buildup, use a dedicated hard water stain remover, following safety precautions. |
Knowing these quick fixes will save you a ton of frustration and help you achieve that flawless finish every time.
Cleaning Multi-Pane and High Windows
Windows with lots of small panes, like French doors, look intimidating. The trick is simply to change your tool. Ditch the big squeegee and grab a smaller one that fits inside each individual pane—a 6-inch or 8-inch squeegee is usually perfect. Just do a straight downward pull on each pane, and make sure to wipe the blade clean after every single pass.
For second-story windows, an extension pole is an absolute must-have for your safety and for getting the job done right.
- First, attach your strip washer to the pole to scrub the glass.
- Then, switch it out for your squeegee to clear it off.
- Get the hang of it on ground-level windows first. It takes a little practice to control the pressure and angle from a distance.
Your safety is always the top priority. Before you extend that pole, make sure your feet are on solid, level ground and look up for any hazards like power lines. A true professional never rushes a setup when working at height.
Don't Forget the Screens and Tracks
A sparkling clean window just looks wrong sitting in a dirty frame. The job isn't done until you've cleaned the entire window assembly.
Cleaning Window Screens
Whatever you do, don't hit your screens with a pressure washer. You’ll stretch or tear the mesh in a heartbeat. The right way is much gentler.
- Pop the screens out and lay them on a flat, clean spot like your driveway.
- Give them a light spray with your cleaning solution.
- Use a soft-bristle brush to gently scrub both sides and break up the dirt.
- Rinse them completely with a hose on a gentle setting.
- Let them air dry fully before putting them back in.
Clearing Out Window Tracks and Sills
Window tracks are magnets for grit, dead bugs, and all sorts of gunk. If you ignore them, they not only look bad but can also make your windows hard to open and close.
Start with a vacuum and a crevice tool to suck up all the loose stuff. For the grime that’s caked on, spray a little all-purpose cleaner and let it work for a minute. Then, get in there with an old toothbrush or a small, stiff brush to scrub it loose. A final wipe with a microfiber towel, and you’re done.
These are the details that separate a DIY attempt from a professional job. It’s also why pros can often clean windows 2-3 times faster than a homeowner, with a satisfaction rate around 98%. And for those with solar panels baking in the Arizona sun, a professional cleaning can boost their efficiency by as much as 25% just by removing that layer of dust. You can learn more about trends in the glass cleaner market.
Window Cleaning Tips for the Arizona Climate

Cleaning windows in Scottsdale, Peoria, or anywhere around Phoenix is a whole different ball game. You’re up against intense sun, mineral-packed water, and a never-ending layer of dust. If you want to master how to clean windows professionally out here, you have to learn to work with the climate, not fight it.
The absolute worst mistake I see people make is trying to wash windows in the middle of a sunny day. That glass can easily top 150°F, and your cleaning solution will literally bake onto the surface before you can even think about squeegeeing. What you're left with is a frustrating, streaky film of soap and minerals.
Timing Is Everything
The secret to a flawless finish in the desert is all about timing. Seriously, just forget about washing windows between 10 AM and 4 PM when it's warm out. The only way to win is to work when the glass is cool to the touch.
Your best windows of opportunity are:
- Early Morning: Get out there right after sunrise, before the sun has a chance to start heating things up.
- Late Afternoon: As the sun starts to dip and temperatures cool, you’ll get a much bigger window to work in.
- Overcast Days: A cloudy day is a gift from the window cleaning gods in Arizona. You get cool, consistent conditions all day.
A cool glass surface is non-negotiable for a professional finish here. It buys you the time you need to soap up, squeegee clean, and detail the edges without racing against evaporation.
Conquering Hard Water and Haboob Dust
The Arizona climate throws a nasty one-two punch: stubborn hard water spots and the fine, gritty dust from our monsoon haboobs. You can't treat them the same. Hard water spots, usually from a rogue sprinkler, are basically mineral cement on your glass.
And after a haboob? Your first instinct might be to grab the hose. Don't do it. Hitting that fine dust with water just creates a muddy mess that’s a nightmare to clean and can easily scratch the glass when you start scrubbing.
Here’s the right way to handle a post-haboob cleanup:
- Dry Dust First: Grab a very soft-bristled brush or a dry microfiber duster. Gently sweep the loose dust off the glass, frames, and screens. Your goal is to get the abrasive particles off before introducing water.
- Wash as Normal: Now that the grit is gone, you can go ahead with your standard washing technique using your strip washer and squeegee.
Your Ideal Arizona Maintenance Schedule
In other parts of the country, you might get away with washing your windows once or twice a year. Here in the Valley of the Sun, that's just not going to cut it. If you wait too long, the dust builds up and hard water stains bake on, sometimes permanently.
For most homes in the Phoenix area, a quarterly schedule is the sweet spot.
- Quarterly Cleaning (4 times a year): This is the perfect frequency to stay on top of the dust and prevent hard water from getting out of control. Your windows will stay crystal clear all year.
Sticking to a regular schedule doesn't just protect your view; it actually protects the glass itself from the corrosive etching that baked-on minerals can cause.
When to Call a Professional Window Cleaner
Following this guide can get you pretty close to a professional finish, but a huge part of the "pro" mindset is knowing when a job is better left to an expert. Sometimes, the smartest move you can make is to put down the squeegee and pick up the phone.
The biggest reason? Safety. If you've got second-story windows, vaulted ceilings with hard-to-reach glass, or windows perched above sloped landscaping, the risk of a fall is no joke. A professional crew shows up with the right ladders, water-fed poles, and safety gear to make a dangerous task routine.
Scenarios Demanding a Professional Touch
Time is another huge factor. Let’s be realistic—cleaning every window in your house, inside and out, can easily eat up your entire weekend. If your schedule is already slammed, the convenience alone is worth it. A seasoned team can knock out the whole job in a few hours, leaving you with perfect results while you get on with your life.
Here are a few situations where calling a pro is almost always the right move:
- Hard-to-Reach Windows: Anything that requires more than a simple step stool is a potential accident waiting to happen. Pros have the training and equipment to handle heights safely.
- Severe Hard Water Staining: When mineral deposits from sprinklers have been baking onto the glass for years, they can actually etch the surface. A pro has access to special compounds and polishing tools that can restore the glass without scratching it.
- You're Just Too Busy: Whether you're a homeowner with a packed schedule, a real estate agent prepping a house for sale, or a business owner who needs a sparkling storefront, hiring out is just plain efficient.
Hiring a professional isn't giving up; it's making a smart investment. You're paying for safety, efficiency, and a flawless finish that’s tough to replicate without years of daily practice and the right tools.
More Than Just Glass
Professional services often extend beyond the window panes themselves. Many companies, including us, can bundle services to save you time and money.
For example, while we're on-site cleaning your windows, we can also take care of your screens, even doing minor repairs. We can also clean your solar panels to ensure they’re producing at peak efficiency. Handling all these chores in one visit is far more convenient than trying to line up three different companies.
Ultimately, the decision comes down to balancing the job's complexity against your available time and comfort with the risks. For homeowners in Scottsdale, understanding why professional window cleaning makes all the difference is the first step toward protecting your home’s value and enjoying those stunning Arizona views without the risk or hassle.
Got Questions? We've Got Answers
Even after you've got the tools and learned the moves, a few questions always pop up. That's totally normal. Here are some of the most common things people ask us, along with some insider advice to help you nail that perfect, professional finish.
How Often Should Windows Be Cleaned In The Phoenix Area?
For most homeowners around Phoenix, a thorough interior and exterior cleaning twice a year is a great rule of thumb. Think of it as spring and fall cleaning for your glass—it’s usually enough to keep things clear and prevent serious buildup.
But let's be real, this is the desert. If you live near a busy street, a new construction zone, or you're in an area that gets hammered by haboobs, you'll want to step it up. A quarterly cleaning is a much better strategy in those cases. It stops that gritty, mineral-heavy dust from baking onto the glass and becoming a major chore to remove later. For businesses where a pristine look is non-negotiable, we're typically there on a monthly basis.
Is It Really Okay To Use Vinegar Or Ammonia?
You'll see vinegar recommended all over the internet for DIY cleaning, but we strongly advise against it, at least for regular use. Vinegar is an acid, and over time, that acidity can start to break down the rubber and vinyl seals around your windowpanes. This can lead to them aging prematurely and even causing leaks down the road.
Ammonia is a definite no-go. It's harsh stuff. The fumes can be overpowering, especially indoors, and it’s notorious for damaging or discoloring specialty window tints and films.
Honestly, the best solution is the simplest one. We use a bucket of cool water with just a few drops of a good quality dish soap like Dawn. That's it. It gives you all the cleaning power and lubrication (what we call "slip") you need for a squeegee to glide perfectly, without putting your window frames or tints at risk.
Can I Actually Use A Squeegee Inside Without Making A Huge Mess?
Absolutely! In fact, it's the only way to get truly streak-free glass on the inside. The whole secret is water control.
When you load up your strip washer, don't just dunk and go. Give it a gentle squeeze so it’s damp, not sopping wet. The goal is to apply just enough solution to clean the glass, not flood the sill.
Before you make a single pass, lay down a thick, absorbent towel along the windowsill and the bottom of the frame. This is your safety net for any stray drips. From there, use the same professional squeegee techniques you'd use outside, and—this is critical—wipe your blade clean after every single pull. It might feel a little awkward at first, but once you get the hang of it, you'll be cleaning interior windows like a pro, mess-free.
Ugh, Why Are My Windows Still Streaky?
Streaks are frustrating, but they’re almost always caused by one small, easy-to-fix issue. Here are the usual suspects:
- A bad blade: The rubber on a squeegee is everything. The slightest nick, cut, or even just a worn-down edge will leave a perfect little line of water behind. They're cheap to replace, so don't hesitate.
- Cleaning in direct sun: If the glass is hot to the touch, your cleaning solution will evaporate almost instantly, leaving behind a film of soap scum. Always work in the shade.
- Too much soap: More is not better! A solution that's too sudsy is difficult to remove completely and is a leading cause of hazy, streaky windows.
- A dirty blade: If you forget to wipe your blade with a clean cloth between passes, you're just dragging a tiny line of dirty water right across the clean glass.
Ready to skip the guesswork and get a flawless shine every time? The experienced team at Sparkle Tech Window Washing LLC uses proven techniques and the best tools to give your home or business a luminous, streak-free finish. Schedule your free estimate today!